
I'm so excited to have Robyn from Bolo Heads here today!!
****************************
I am so honored to do a tutorial, I can hardly stand it.
****************************
I am so honored to do a tutorial, I can hardly stand it.
I feel so unworthy.
Any way I hope you enjoy my humble little tutorial, and that you come visit me on my blog.
Any way I hope you enjoy my humble little tutorial, and that you come visit me on my blog.
So with out further ado here you go!
THE BIG FLOWER TUTORIAL
(sorry I couldn't think of a better name)

I first made these flowers when I made my wedding dress.
Instead of the big butt bow (that was very popular in the early nineties)
I had three of these flowers.
I had three of these flowers.
I made them again for the big girl flower girl dresses, for my sisters wedding.
Then again for my daughters Easter dress.
So here you go . . . are you ready?

I used organza from Joann's Casa collection, it is my favorite.
It is 60" wide. I am sure you can use what ever you want,
but the wider the fabric, the fatter your flower is going to be.
but the wider the fabric, the fatter your flower is going to be.

You need to make a bias seam.


I was not very smart and sewed on the line
and now have a gray line on the middle of my flower :(
Don't do what I did, use the line as a guide and sew 1/4" away from the line.


Fold in half and baste it together.


Make sure that your seam is not twisted, and laying flat.


I totally cheated,
I have an industrial serger,
it is my happy place,
it gathers while I sew.
I know you are jealous and you totally should be.
I know you are jealous and you totally should be.
If I were you without this piece of heaven in your sewing room,
I would first finish the edge either with your cute little home serger,
or with a zig zag stitch on your sewing machine.
I would first finish the edge either with your cute little home serger,
or with a zig zag stitch on your sewing machine.
Then gather it up with you favorite gathering method,
you want it to be tightly gathered.
You might want to gather it twice,
You might want to gather it twice,
gather,
and then gather the gathers if that makes sense,
because it totally makes sense to me.
because it totally makes sense to me.
It helps down the road to have it gathered super tight.

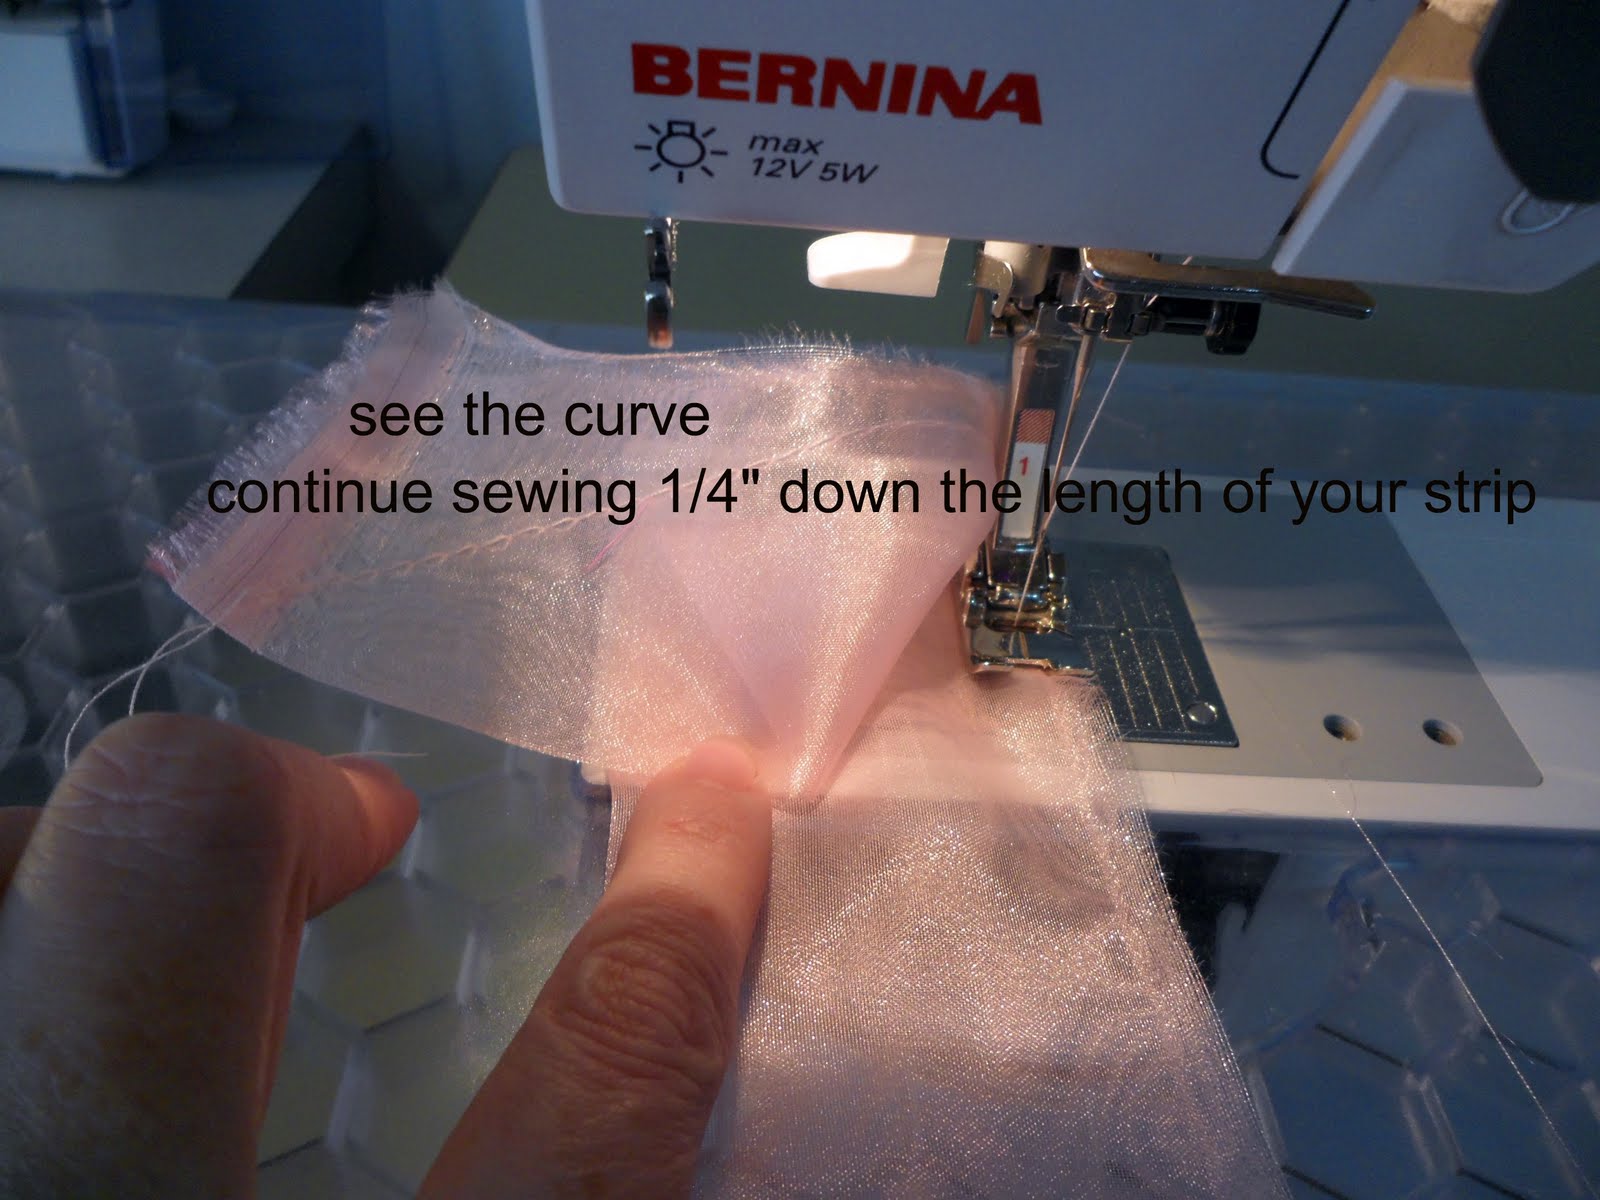
This is the most confusing part and should have taken another picture of me sewing this part.
Put your strip under your sewing foot starting at the folded edge.
Back tack a few stitches sew to the gathering, pull the threads back to the top.
Back tack a few stitches sew to the gathering, pull the threads back to the top.
DO NOT CUT THE THREADS
Back tack,
sew to the gathering,
pull the threads back to the top
repeat.
repeat.

This is why you don't cut your thread.

You need it to gather.

Your cute petal.

It is possible that you don't have to tie the ends but I don't dare.
I don't want to risk gathering all the petals and then having them come undone.


See there in the upper left hand corner, there is the gray pencil line.

Now it is going to bug you that you know it is there, huh.
There you go let me know how it turns out for you.
I can't wait to see other peoples' versions.
I can't wait to see other peoples' versions.
Feel free to come on over for a visit.
I am not to pushy and I have great things planned.
I am not to pushy and I have great things planned.


3 comments:
T^hanks for featuring me. It is very exciting. Have a great week end.
A great tutorial by Robyn! Don't you just hate having to be so perfect about things when you write a tutorial? I do!
I have seen your tutorial on this before, and I'm still freakin' amazed by it!! You are one clever girl Robyn!!
Post a Comment