
So I ventured into the realm of string art projects recently and I'm hooked. I'm constantly scouring Pinterest looking for more cute designs and ideas - and there are so many. When I started looking into making my own string art I had so many questions!

What kind of nails do I use?
What kind of wood? How thick is the wood?
What string do I use? How do I start it?
How do I finish it? How close should my nails be together?
So many questions!
And I either found them or figured them out on my own, but it took a good couple of days to pull it all together. So, I decided to share my first project with you and give you all the answers to my questions in the hopes that it will help you if you decide to delve into amazingness of string art projects.
Also, I'll be honest, this is a labor intensive craft. It takes a lot of time to hammer in the nails - so many nails! So, don't expect to sit down and bang this out in 30 minutes - pun intended :D But I still think it's fun! OK, let's get started!

{WHAT KIND OF WOOD SHOULD I USE?}
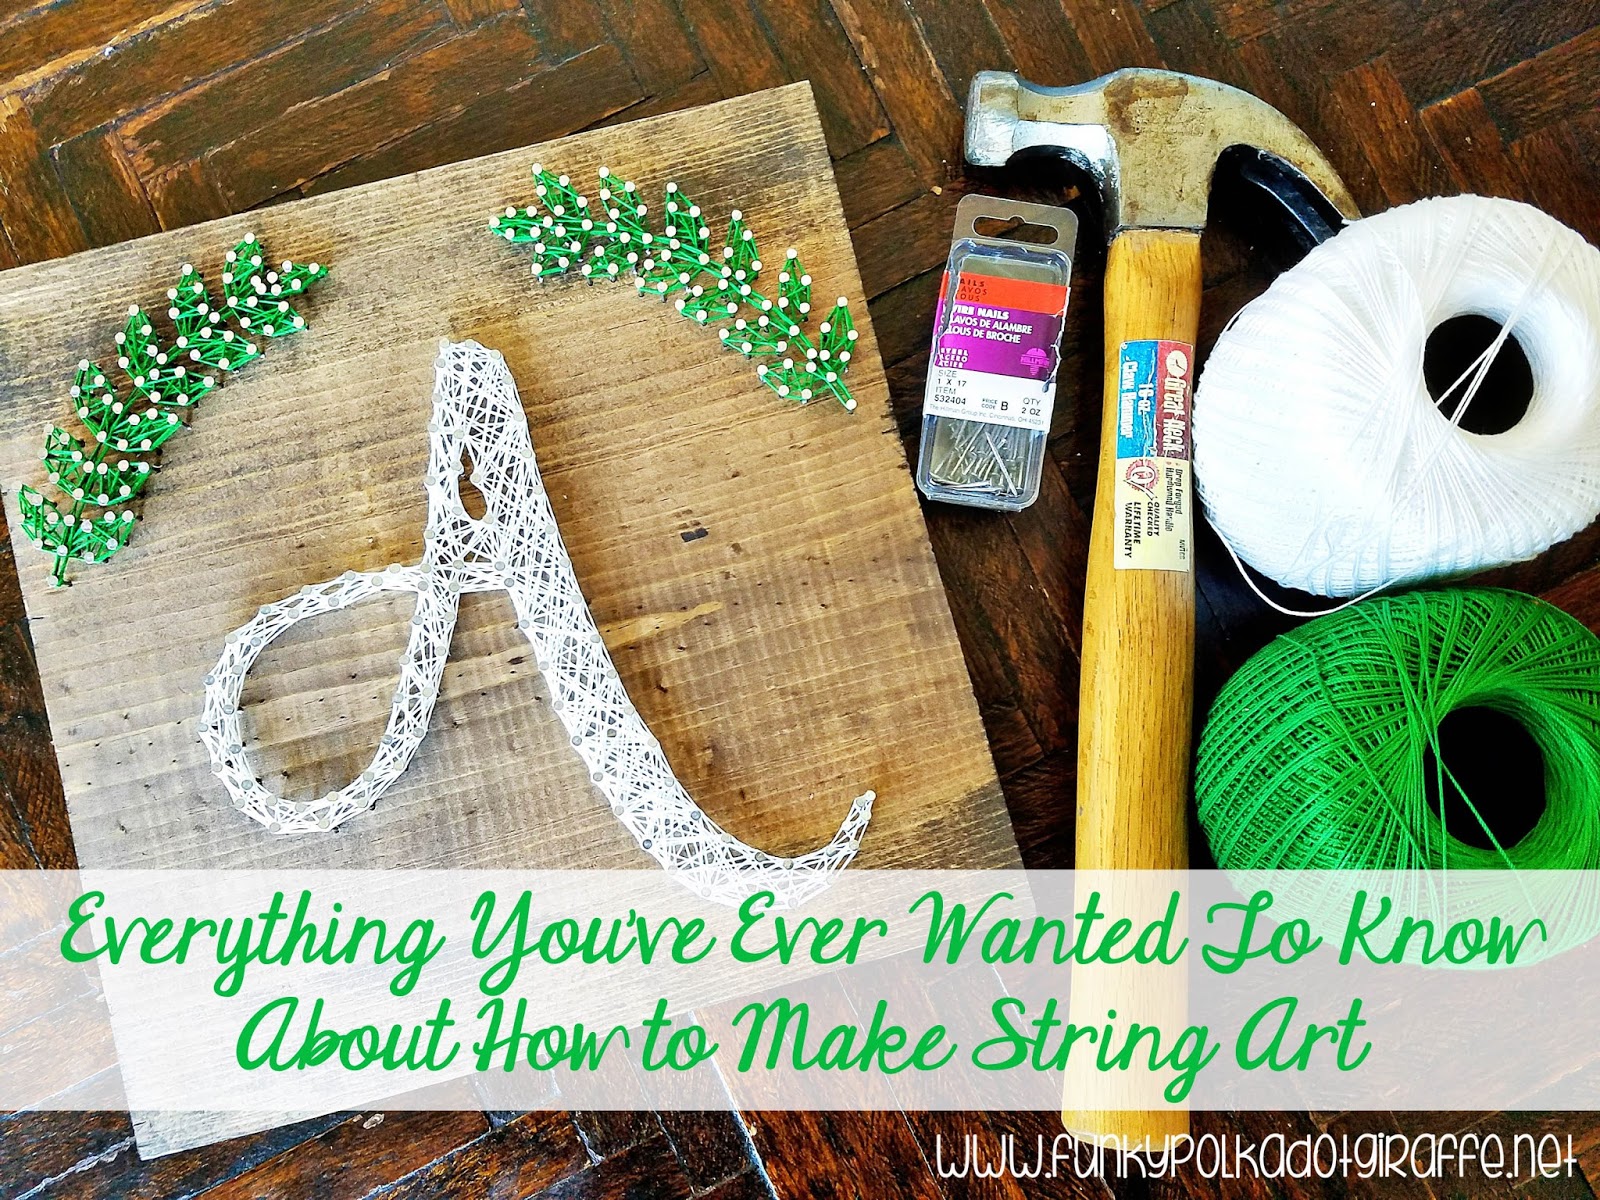
I've worked a little with wood, but most of the time someone else got it all prepped and ready for me. So, when I went to Lowe's to find wood for this project I was so overwhelmed with all of the choices! I called in a life line and Marco Polo'd my wood genius friend Chelsea. She talked me through the choices and brought me down from my ledge. I chose a 1-inch WHITEWOOD BOARD that was 12in x 4ft and then Chelsea cut them down to 12x12 boards for our project.

{WHAT KIND OF NAILS SHOULD I USE?}
I made the mistake of asking the guy at Lowe's and told him what I was making. He was all - "Oh yeah, lots of people have been in to get stuff for that. I know exactly what you need." He did not know. He tried to sell me on some roofing nails. They were too bulky and clunky for my liking and they didn't come in silver. No thanks. So I thanked him for his help and kept looking. I settled on 1x17 WIRE NAILS for the project. The "1" is for the length of the nail and the "17" is for the gauge of the nail size. They were the perfect size and color! They even have them in a gold tone if that's the look you are going for with your string art. For this project I used TWO BOXES OF 2OZ NAILS. How many boxes you'll need will depend on your design.

{WHAT KIND OF STRING DO I USE?}
I think that the CLASSIC 10 CROCHET THREAD is perfect for string art and that is what I used. However, you get a wider range of color choices if you use embroidery floss. If you use embroidery floss, you'll probably want to use all 6 strands to get the bulk that you get with the crochet thread.


{HOW CLOSE TOGETHER SHOULD I PUT MY NAILS?}
I like my nails A HALF INCH APART- give or take. There were some spots where it ended up a little bit more and a little bit less to preserve the curve of the design. If they are too far apart you won't get all the cool criss-crossing and if they are too close you won't be able to get the string on the nails. So those are my thoughts on nails.

{WHERE DO I START?}
Let's start at the very beginning, a very good place to start . . . hee, hee!
{1} STAIN OR PAINT YOUR BOARD
{2} TAPE DOWN YOUR PATTERN
{3} MARK YOUR HOLES FOR YOUR NAILS
{4} START HAMMERING!
{3} MARK YOUR HOLES FOR YOUR NAILS
{4} START HAMMERING!
You actually have several options for making your pattern.
You can print it out on the printer and mark your nails every half inch and nail straight into the paper.
Or you can make a template on the Silhouette and mark where your nails go and then start nailing.
Or you can get really fancy and mark your holes around your template and then PRE-DRILL your holes. This makes the hammering go SO MUCH FASTER! I didn't pre-drill my holes and my friend Chelsea did and she was done lickety split with the hammering.

{NOW WHAT?}
After you've got all your nails in, be sure to pull off your paper pattern! Seriously, I got so excited about making my leaves that I started doing the string before I took the paper off. I had to take all the string off and start again. So, if you nail right into your paper template, be sure you remove it BEFORE you start the string.
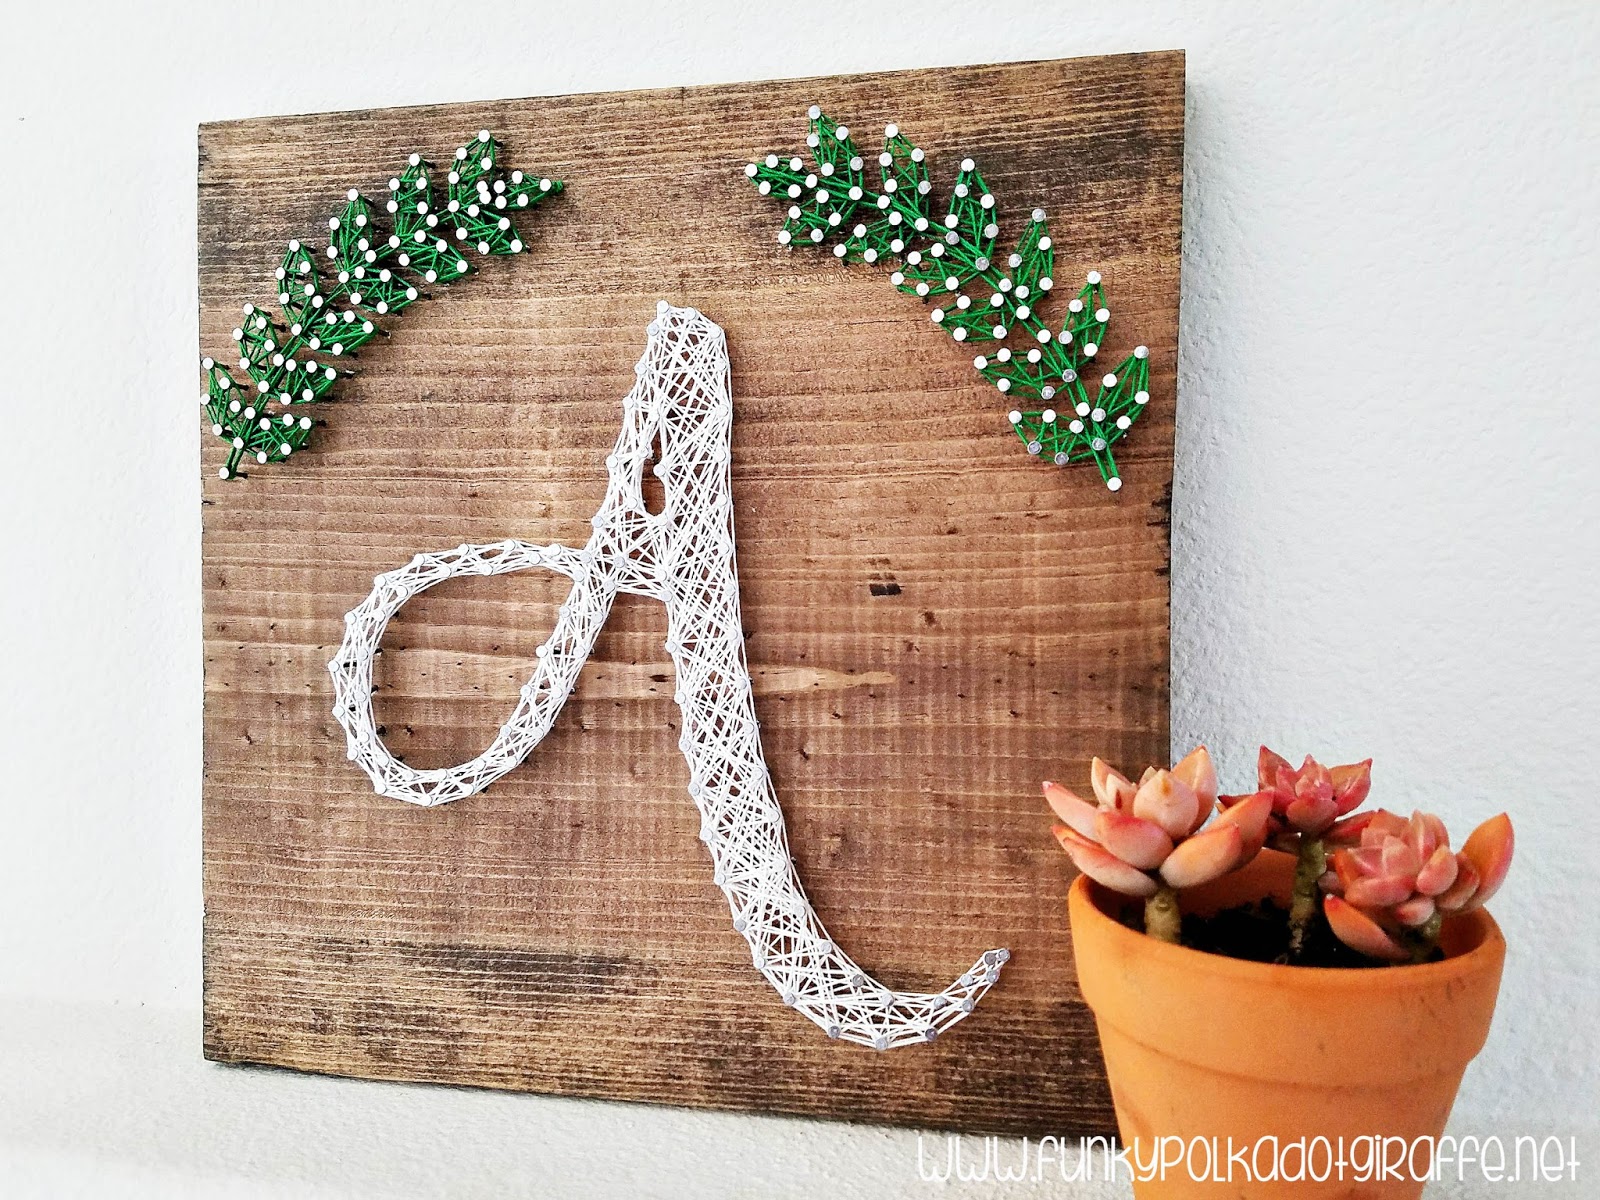
Then, start stringing! You TIE A KNOT on one nail and then start stringing. I wanted an OUTLINE on my letter, so I did the OUTLINE FIRST and then went back in and filled in the inside. To get the outline you go on the outside of the nail and then on the inside of the nail. This gives it a bold outline. When I started filling it in, there was no rhyme and reason to my stringing pattern. I just did it until I thought it looked like I wanted it to look.
Another BIG TIP is to KEEP THE STRING TIGHT as you make your pattern. I didn't just go around the back of the nail, I went all the way around the nail most of the time so that it was more secure and wouldn't come undone if I let go for a second.

{HOW DO I FINISH?}
You finish the way you start by tying a knot on the last nail. You can tuck the string tail up into the string pattern or you can secure it with a little dab of glue. And now you're done!
There are all my tips for making sting art. I hope it helps you get started and create something amazing. Please let me know if you have any other questions or need any help!
To sum it all up:
1" thick whitewood board
1x17 wire nails
Classic 10 crochet thread
nails about a half in apart
The font I used for my "A" is Magnolia Sky, but I think Janda Elegant Handwriting would be fabulous too! The pattern for the leaves is below! Enjoy and I'd love to see what you make!
After you've got all your nails in, be sure to pull off your paper pattern! Seriously, I got so excited about making my leaves that I started doing the string before I took the paper off. I had to take all the string off and start again. So, if you nail right into your paper template, be sure you remove it BEFORE you start the string.
Then, start stringing! You TIE A KNOT on one nail and then start stringing. I wanted an OUTLINE on my letter, so I did the OUTLINE FIRST and then went back in and filled in the inside. To get the outline you go on the outside of the nail and then on the inside of the nail. This gives it a bold outline. When I started filling it in, there was no rhyme and reason to my stringing pattern. I just did it until I thought it looked like I wanted it to look.
Another BIG TIP is to KEEP THE STRING TIGHT as you make your pattern. I didn't just go around the back of the nail, I went all the way around the nail most of the time so that it was more secure and wouldn't come undone if I let go for a second.

{HOW DO I FINISH?}
You finish the way you start by tying a knot on the last nail. You can tuck the string tail up into the string pattern or you can secure it with a little dab of glue. And now you're done!
There are all my tips for making sting art. I hope it helps you get started and create something amazing. Please let me know if you have any other questions or need any help!
To sum it all up:
1" thick whitewood board
1x17 wire nails
Classic 10 crochet thread
nails about a half in apart
The font I used for my "A" is Magnolia Sky, but I think Janda Elegant Handwriting would be fabulous too! The pattern for the leaves is below! Enjoy and I'd love to see what you make!


0 comments:
Post a Comment