Hi Funky PolkaDot Giraffe readers!
I am thrilled to be unveiling my latest project here at Funky PolkaDot Giraffe ! Her blog has the most amazing projects and I’m so excited to be sharing mine on her super creative blog!

First, a little bit about me…
Now for my tutorial…
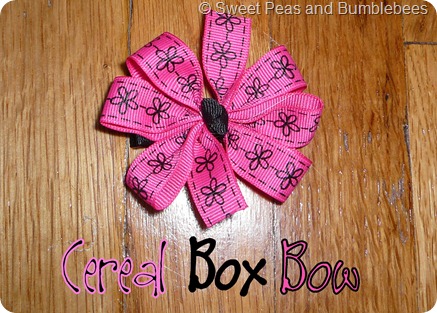
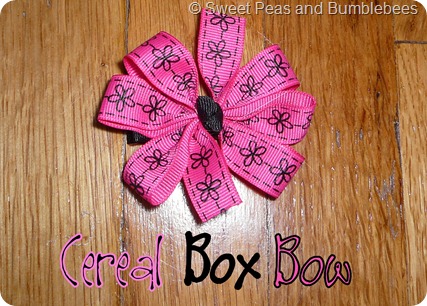
Cereal Box Bow
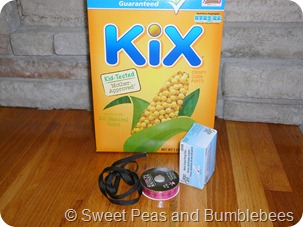
You’ll need:
*Hot Glue
Now, to get started…..
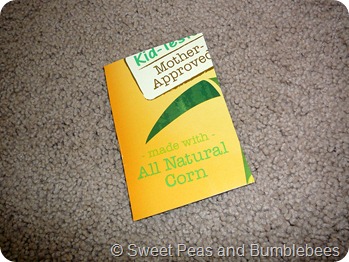
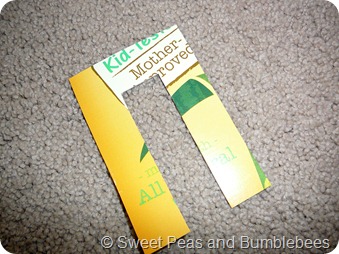
* You are going to start by cutting out your cereal box template.
{{if you want to make a 2” bow, make the width of your template 2”….you can do this to make any size bow}}
* Making it even on both sides, cut a 1 inch strip down the middle of your template.
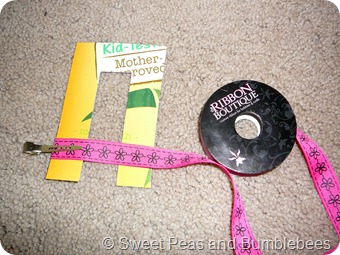
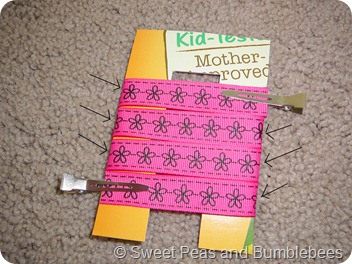
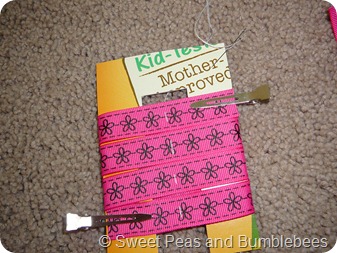
*Place your ribbon on the left side of the template and secure with a metal clip.
* Wrap your ribbon tightly around the template {making sure the template does not bend}.
* Cut the ribbon & secure with a clip on the other end.
* I made my bow a 3 loop bow, but you can do more or less….whatever you desire. Every time your ribbon bends around the template (where the arrows are pointing), that will be a loop.
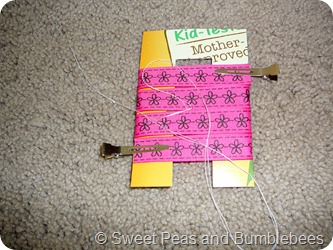
* Grab your needle & thread.
* Leave a tail behind your knot (make sure you knot your thread 3-4 times) {You will use the tail when tying off the bow}

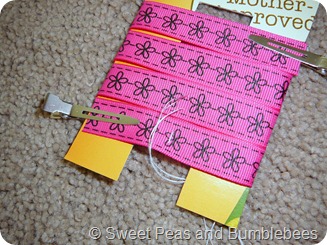
* Starting in the middle of the space you cut out, towards the bottom edge of the bottom row of ribbon, insert your needle from the back.
*Continue this until you have gone up and down through all the rows of ribbon.
* DO NOT cut off your needle.

*Carefully slide your ribbon off of your template.
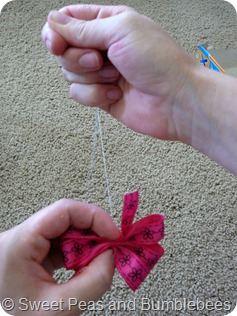
*Grab the ribbon with your left hand and firmly pull the thread with your right hand until it is as tight as it will go and your bow is scrunched up together.
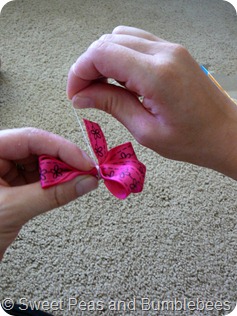
*Hold the bow together with your left hand.
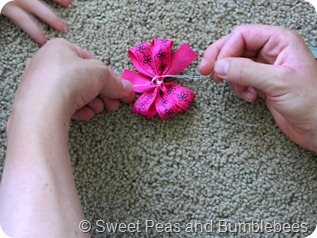
*Continue to hold the bow with your left hand, as you wrap your thread around the center of the bow 5 or 6 times, very tightly.
*Use the tail of the thread you left & the rest of the thread with your needle on it to tightly tie several knots, securing your thread.
*Cut the thread closely to the knot.
*Use your hands to spread out the loops of the bow.
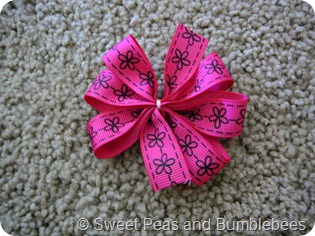
*Glue your bow onto a lined metal clip & complete with a center ribbon or knotted center ribbon (I did a knotted center ribbon)
That’s it…..you are done!! Pretty easy right?
You can pretty much do anything with this template! Just make a different template for different sized bows & use different sizes of ribbon as well! The possibilities are endless!
Thanks for letting me share my tutorial here today!
Come visit us at Sweet Peas & Bumblebees to see some of our favorite posts:


0 comments:
Post a Comment