Today I've got a
quick and easy handmade gift that is fun to make and receive.
I made a
Halloween version and loved it so much that I decided I needed to make a
Christmas version when I found this fabulous Christmas fabric hiding in
my hoard that I bought on clearance at Joann for $2 a yard a couple of
years ago.

Supplies:
Frames
Spray Paint
Christmas Fabric
Transfer/Tracing Paper
White Embroidery Floss
Embroidery Hoop
Embroidery Needles
Fabric Marking Pencil
Glue Gun
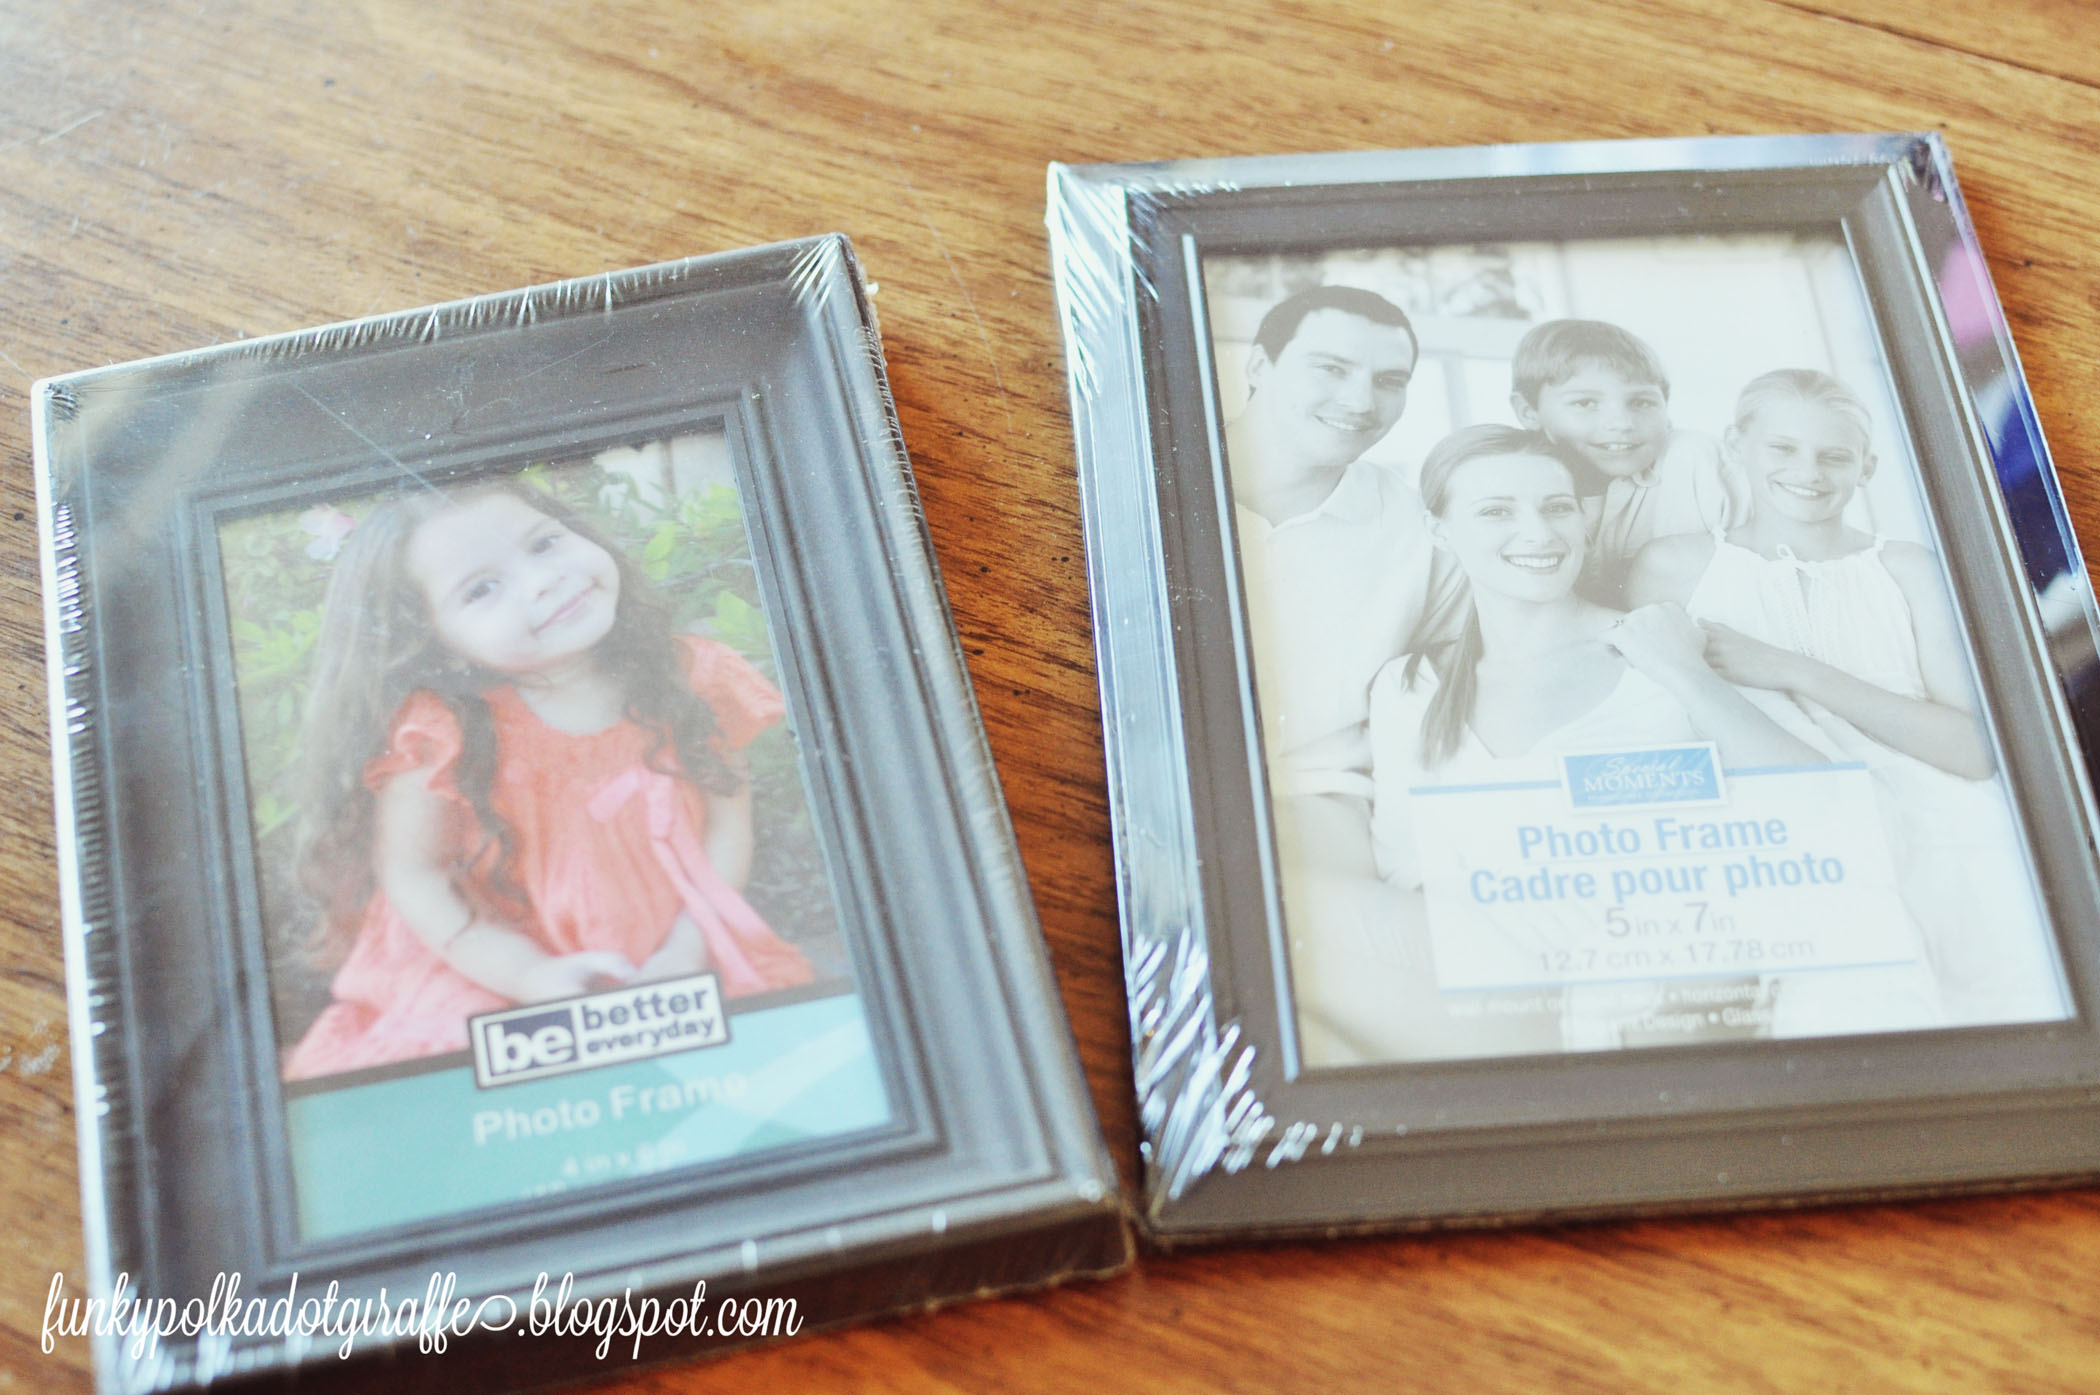
I found these great frames at my local
dollar store, but they were the wrong color, so I used a little white
Krylon spray paint and they were ready to go!
Step One: Cut a piece of fabric that is
about 1″ bigger on all four sides than photo glass.
So for my 4×6 frame,
I cut a piece of fabric that was 5×7 and for my 5×7 frame I cut a piece
of fabric that was 6×8.

Step Two: Use a fabric marking pencil to
mark the corners of your glass size so you know the size area that
you’ll have to work with. I used a fabric pencil because I had one, but
I’ve used a white crayon in a pinch.
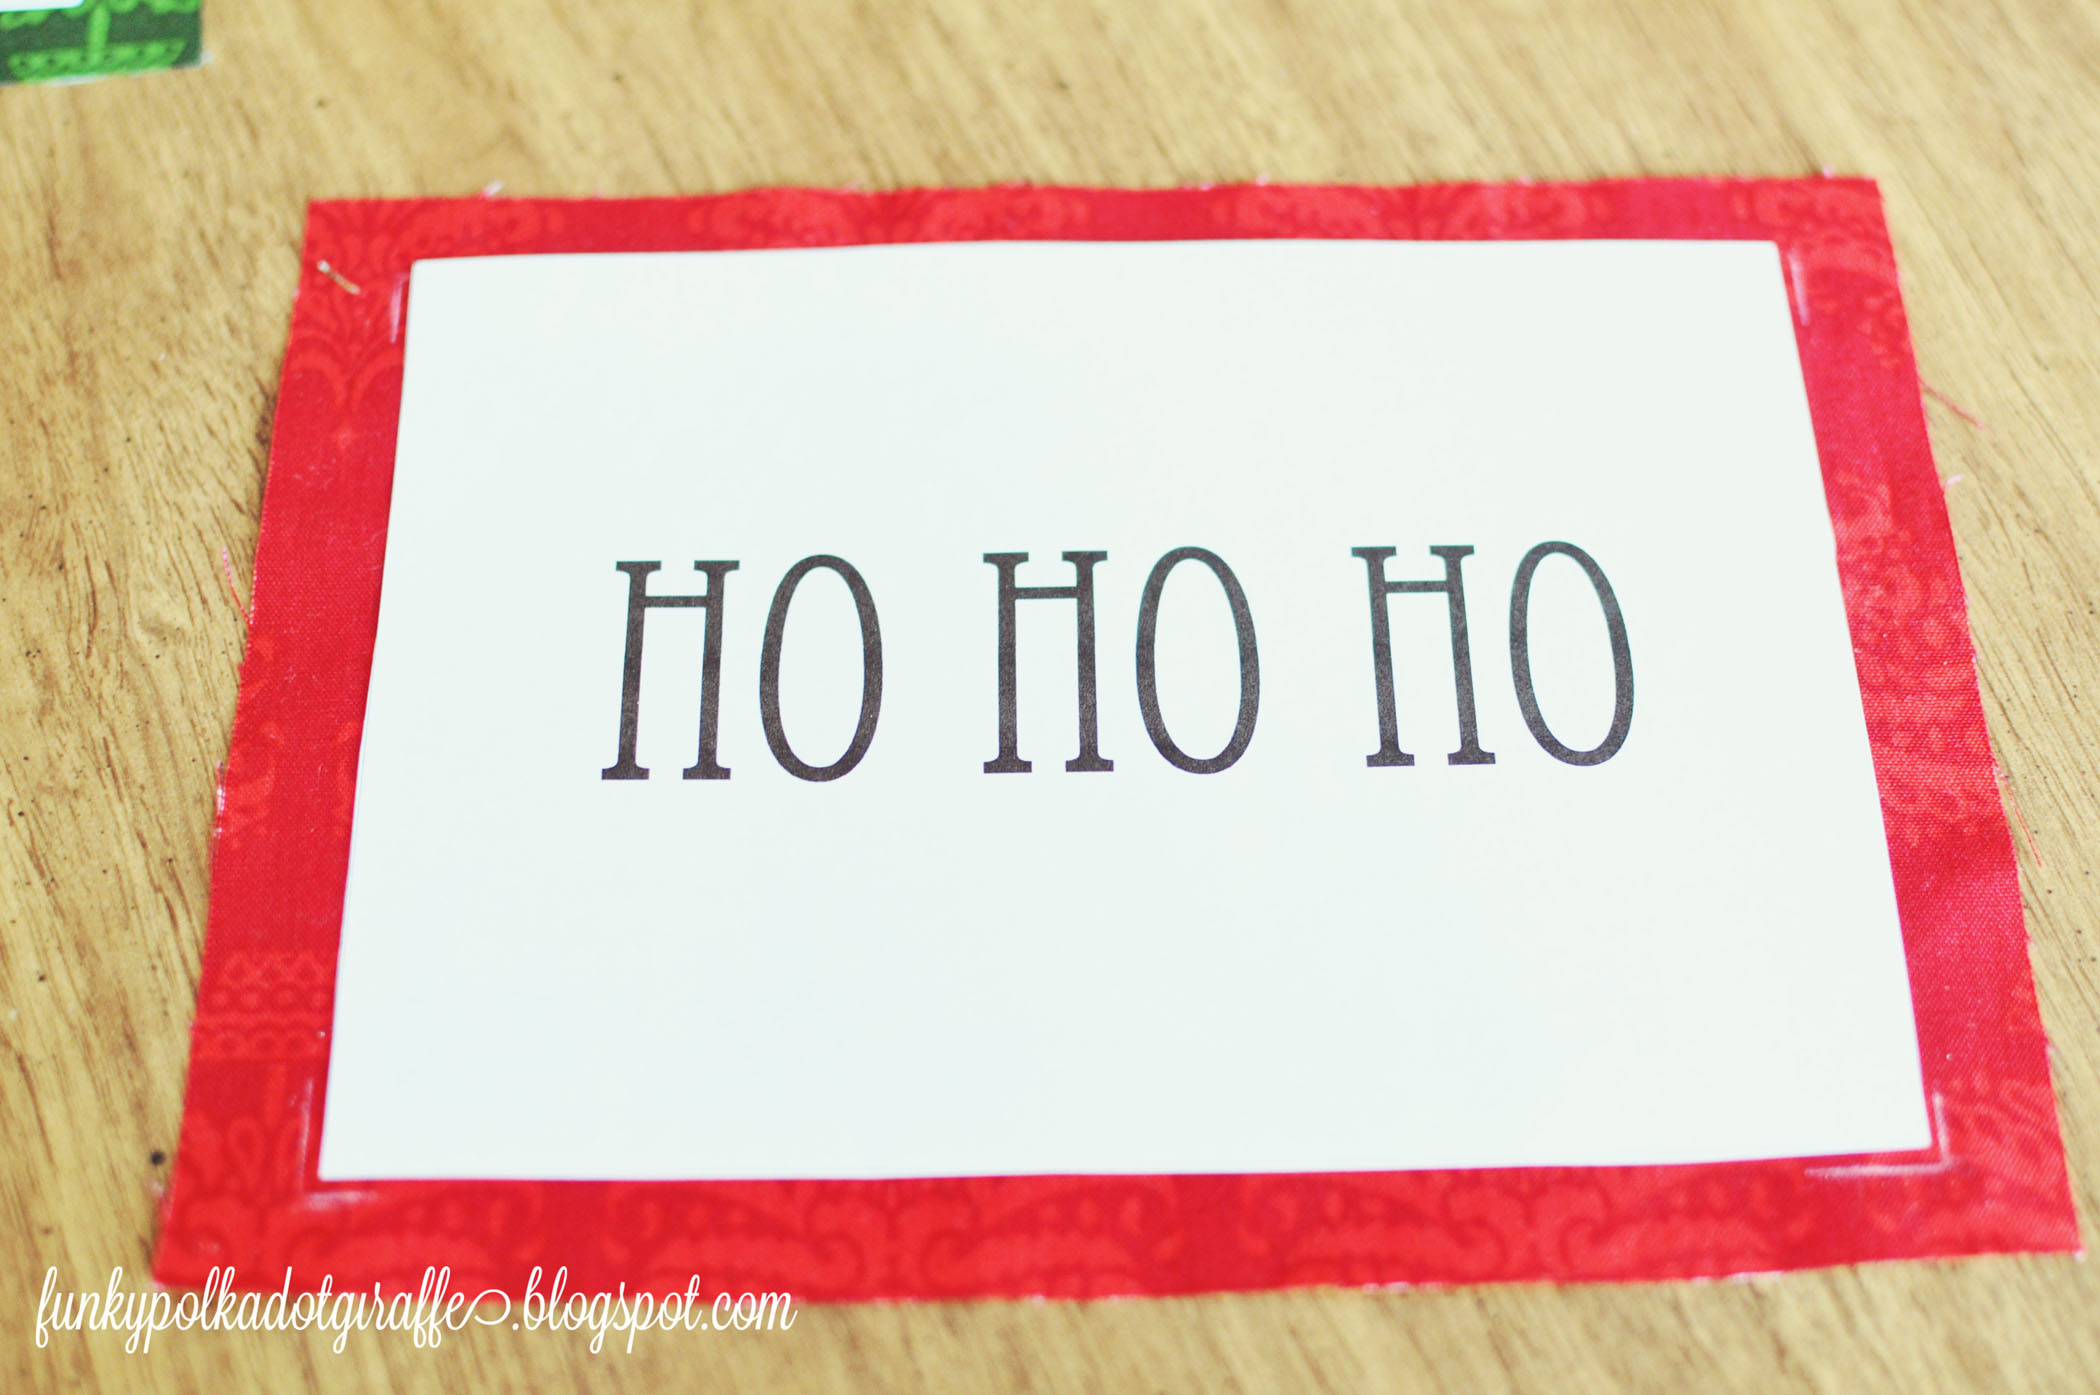
Step Three: Using your computer create
text to be embroidered. I did this by making a 5×7 box in Photoshop and
then centering the text within that box. Place the design over
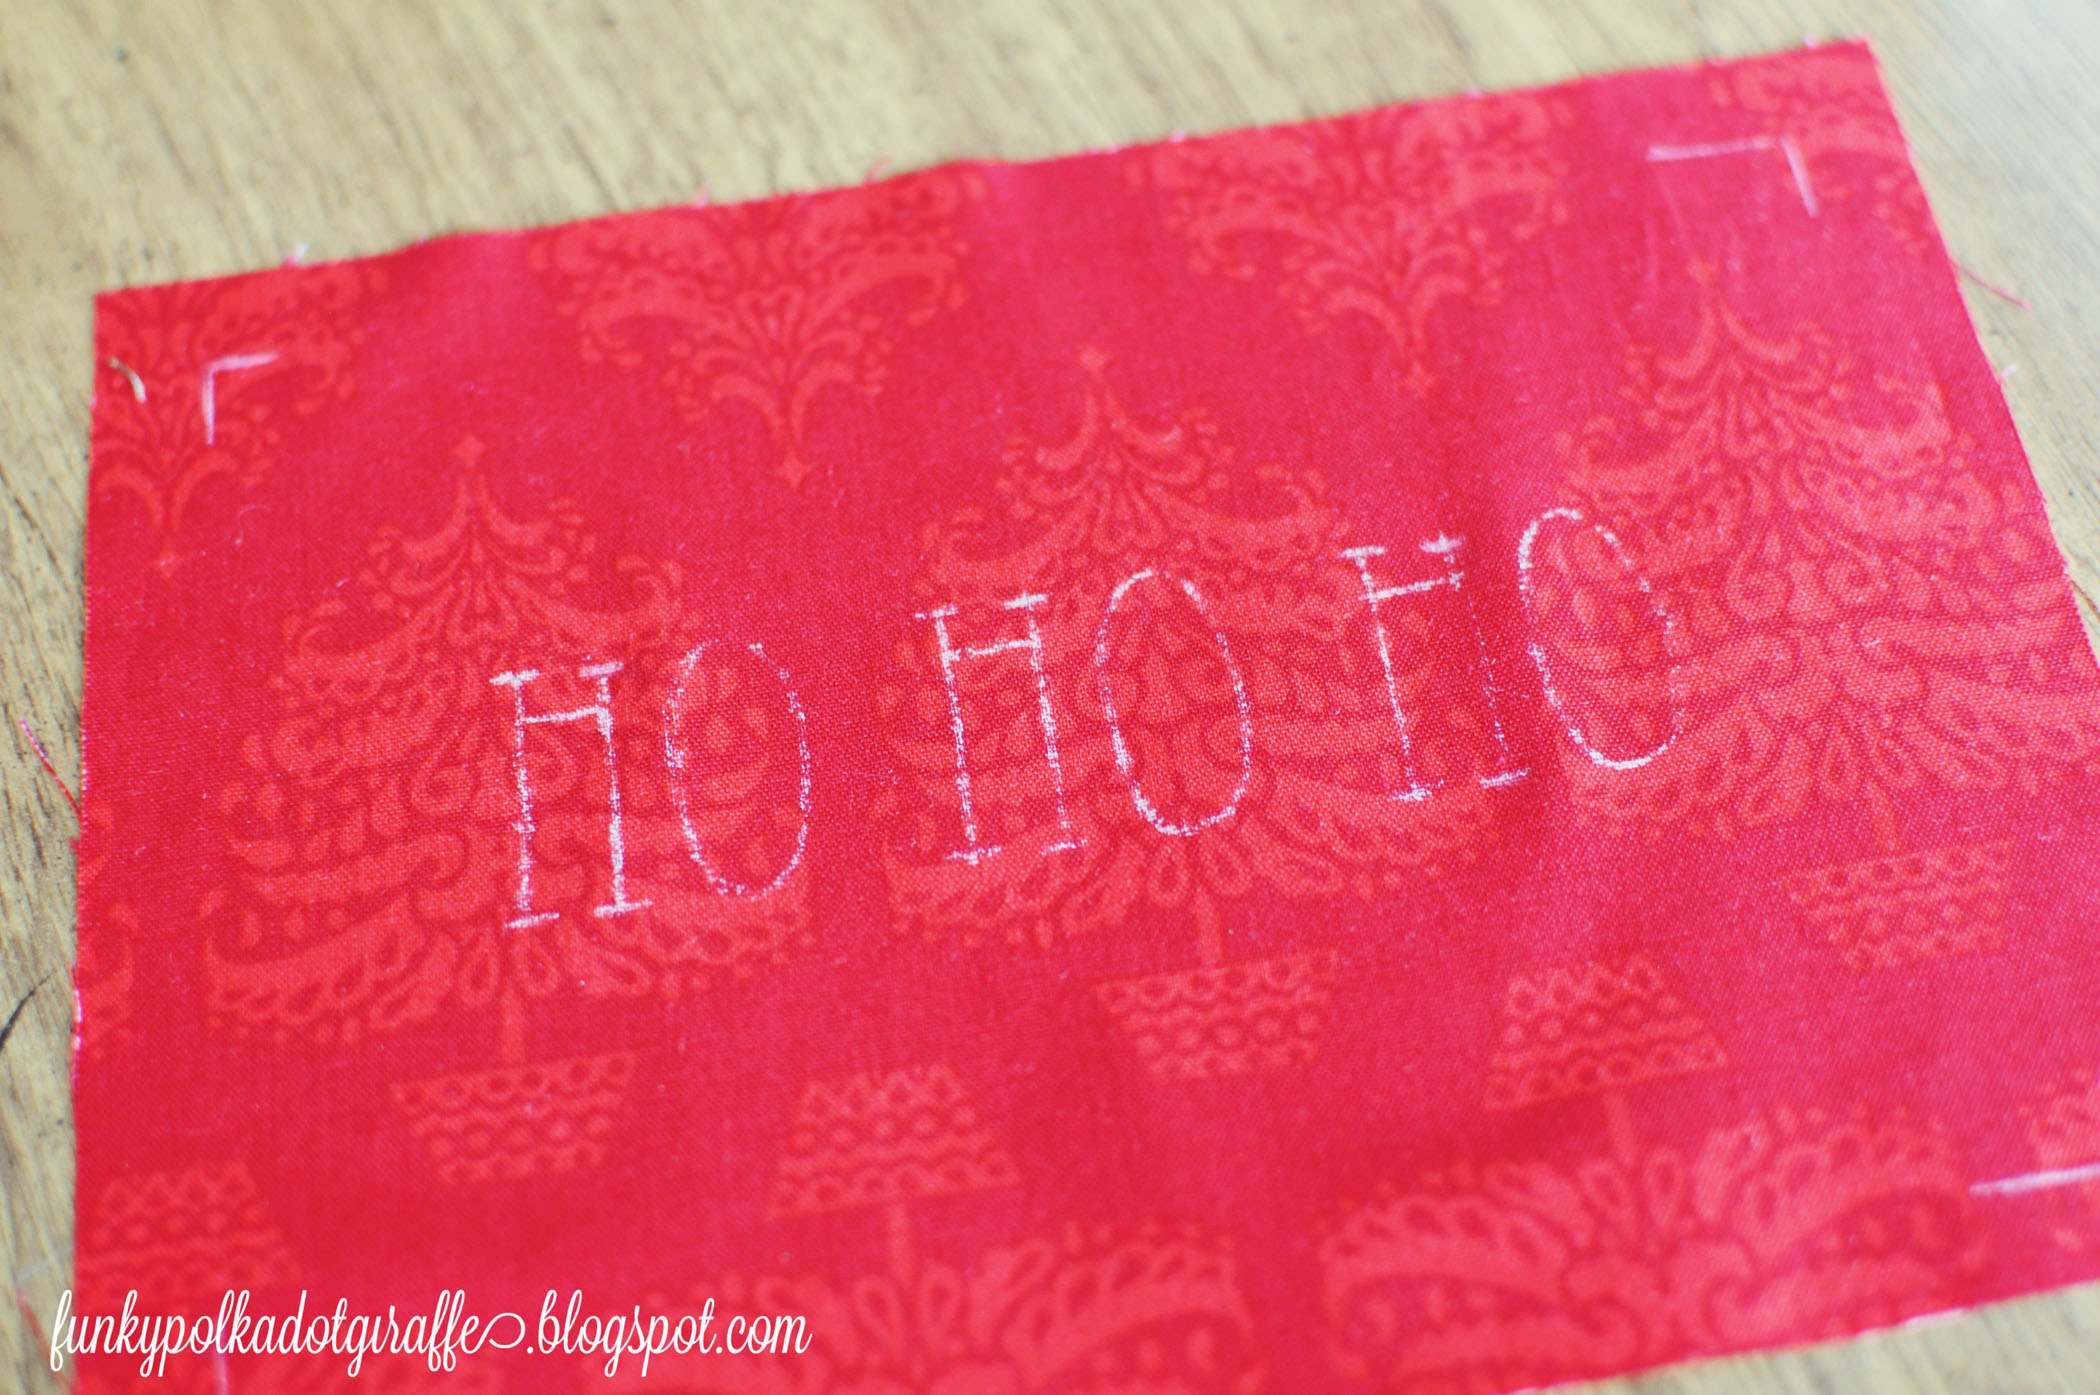
tracing/transfer paper and draw over the design to transfer it to the
fabric.
It will look like this when you’re done!
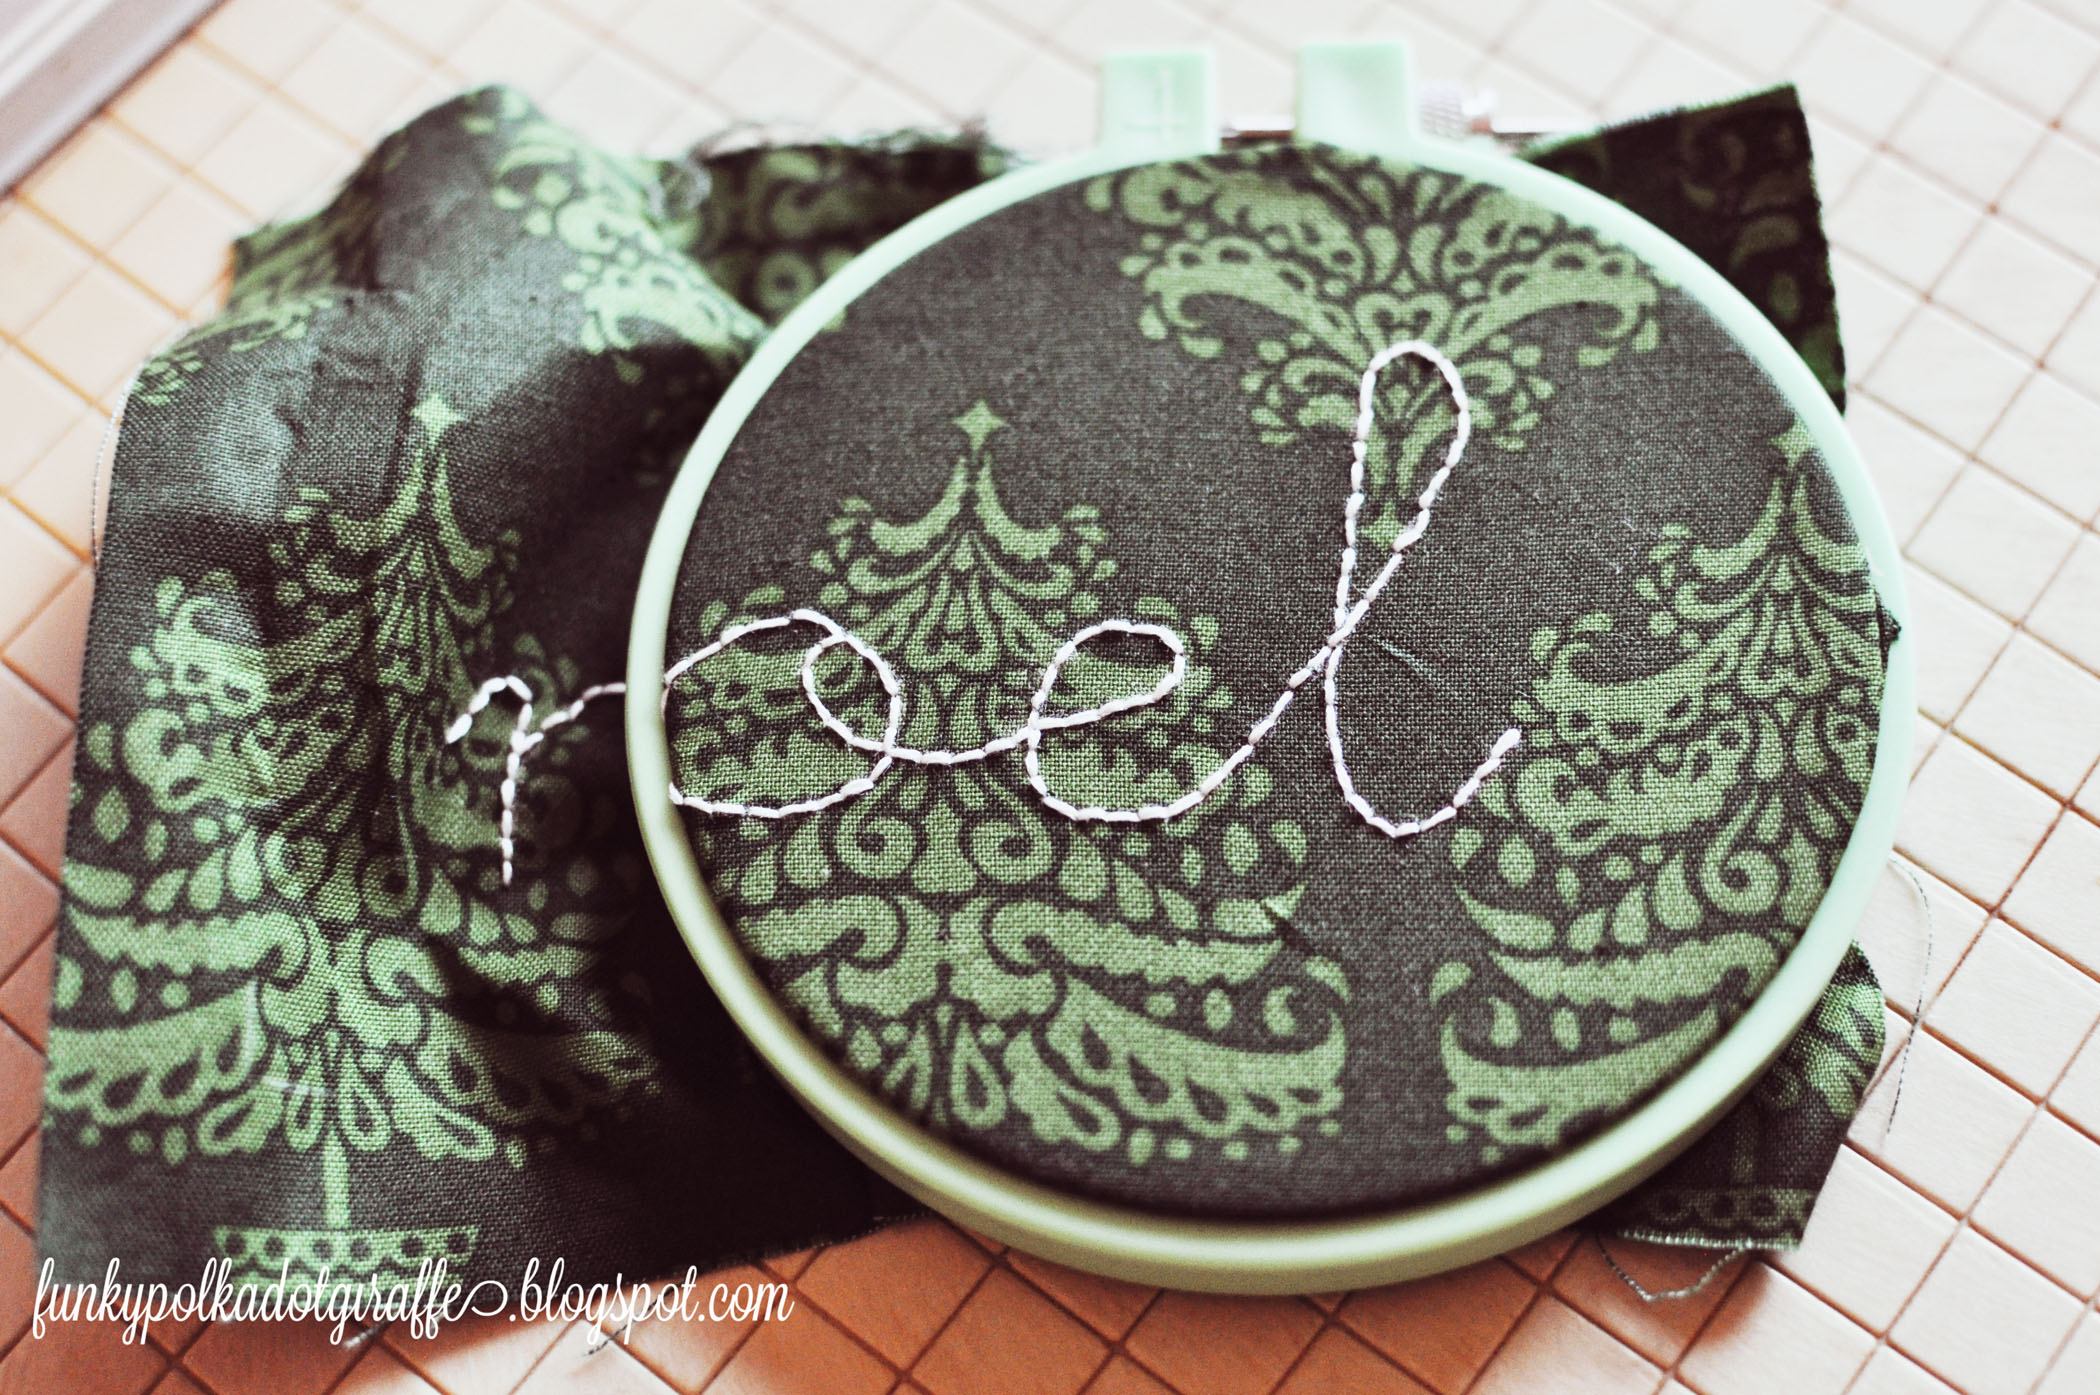
Step Four: Stretch the design onto your embroidery hoop and start stitching.
I used a
back stitch, but any of your favorite embroidery stitches will work great.
Step Five: Remove from the embroidery hoop and iron out the kinks and wrinkles.

Step Six: Cut a piece of cardstock the
exact same size as the glass.
Then place it on the back side of the
embroidery and hot glue the edges to the cardstock – pulling slightly –
to keep it taught.


You’re done!
Flip it over and frame it
up!
I like to keep the glass behind it for sturdiness.
You can put it in
front too, but I don’t like the sheen it gives to the embroidery.

Now you’ve got a cute handmade gift to help share holiday cheer with friends!