FUNKY POLKADOT GIRAFFE
Showing posts with label hand embroidered. Show all posts

Friday, March 15, 2013

Framed St. Patrick's Day Embroidery


I'm back with another fun embroidery idea for St. Patrick's Day!
I have loved doing the embroidery - it's so calming - and it's been
fun getting comfortable with using spray paint.
It started with Halloween, then I did Christmas, next was
Valentine's Day, and then the happy Sunshine embroidery.

Lucky and Pinch Me templates
Dollar Store Frames
White Fabric
Green Embroidery Floss
Embroidery Needle
Embroidery Hoop
Pencil 
Glue Gun
Tutorial HERE
 
 
After I traced the "lucky" onto the fabric I decided it needed a little shamrock.
So, I just hand sketched one made out of four hearts.
I really like the extra punch!
 

Have you tried your hand at embroidery?
I'd love to see it!
Be sure to link up to the Flickr group, so everyone can check it out!


Thursday, February 21, 2013

Framed Sunshine Embroidery


For the Box of Sunshine I made a dear friend,
I hand embroidered a little bit of sunshine to add a bright spot to her home.
I used the same technique as with the Christmas and Valentine embroidery.
Embroidering is so soothing and calms my nerves, so I love doing it.


If you want to make one for your Box of Sunshine, you'll need:

Dollar Store Frames
White Fabric
Yellow Embroidery Floss
Embroidery Needle
Embroidery Hoop
Pencil 
Glue Gun


This time I changed it up and added a little picture to the word.
I like the little sunshine doodle and I think it adds the right punch to the frame.


Now I want to make one for my house,
because the happy yellow just makes me smile!
Have you made a Box of Sunshine yet?
What did you include?
Have you tried your hand at embroidering?
I'd love to see it!
Be sure to link up to the Flickr group, so everyone can check it out!


Monday, February 11, 2013

Box of Sunshine: Gift to Brighten a Day

 I have a super happy gift idea to share with you today.
It's a BOX OF SUNSHINE!

A box of sunshine is a happy yellow filled package that you can send or
give to someone that needs a little happiness.
You can send it across the miles, leave it on the doorstep, or hand deliver to
brighten the day of someone you love.

I saw several different ideas when perusing Pinterest one day - 
type in Box of Sunshine and you'll see all the cute ideas out there.
But I had to go and make the idea my own and put a handmade spin on it.

So I started with a fun sunshine bunting!
This was so fun to make and I got to use some rad pom fringe that I've
been holding onto for just the right project.

Since my current favorite thing to make is hand embroidered picture frames,
I had to make a fun sunshine piece.
I love how it turned out and I especially love the Krylon Sun Yellow spray
paint that I got to use to spruce of the frame.

I also took a plain pair of wood earrings used my Krylon Sun Yellow,
and then I had a great pair of happy yellow earrings to add to the box.

I also made a few printables to go with the happiness of yellow.
First up is an 8x10 printable of You Are My Sunshine.
I always sing this song to my kids, so it has a special spot in my heart.

Next, is a 4x6 print with a little rhyme you can adhere to the inside
of the box if you're shipping it away to someone you love that lives far away.


I used some cute washi tape to stick it to the inside of the box.
Washi tape is so happy! But YELLOW washi tape is SUPER happy!

I also made an 8x10 print that you can add to the front of the
box if you are delivering to a local friend.

Finally - I gathered all thefun yellow items I could find 
and piled them into the box for a special friend.

It was so fun to put this together and see all the fun yellow together in one box.

Some of the things I included in my box:
Handmade Sunshine Pennant
Hand Embroidered Sunshine Frame
Yellow Wooden Earrings
You are My Sunshine 8x10 print
Eclectic Whatnot Camera Strap Cover
Cozy yellow socks
Abba Zabba Candy
Lemonheads
Yellow Bubble Necklace
Yellow Nail Polish
Yellow Balloons
Lay's Potato Chips
Yellow Highlighter
Star Post-it Notes
Yellow Silly String


As always - please adhere to the rules for the printables:
- Funky PolkaDot Giraffe printables are for PERSONAL use only.
-Please do not remove the watermark.
- Please link back to this site if you post anywhere on the internet.

Friday, February 8, 2013

Framed Valentine Hand Embroidery


Ever since I made Halloween framed embroidery for my Pinterest party I've been obsessed with them.
I made some from Christmas and I decided I needed some for each holiday.
They are quick and easy to make and I think they are super cute.
I think embroidery hoops are adorable, but I have a strange aversion to hanging things on my walls.
It's true. Ask Kara Noel.


You'll need:
Frames
Krylon Spray Paint
White Fabric
Red and Pink Embroidery Floss
Embroidery Needle
Embroidery Hoop
Pencil
Glue Gun

I followed the same steps as I did with my framed Christmas embroidery.
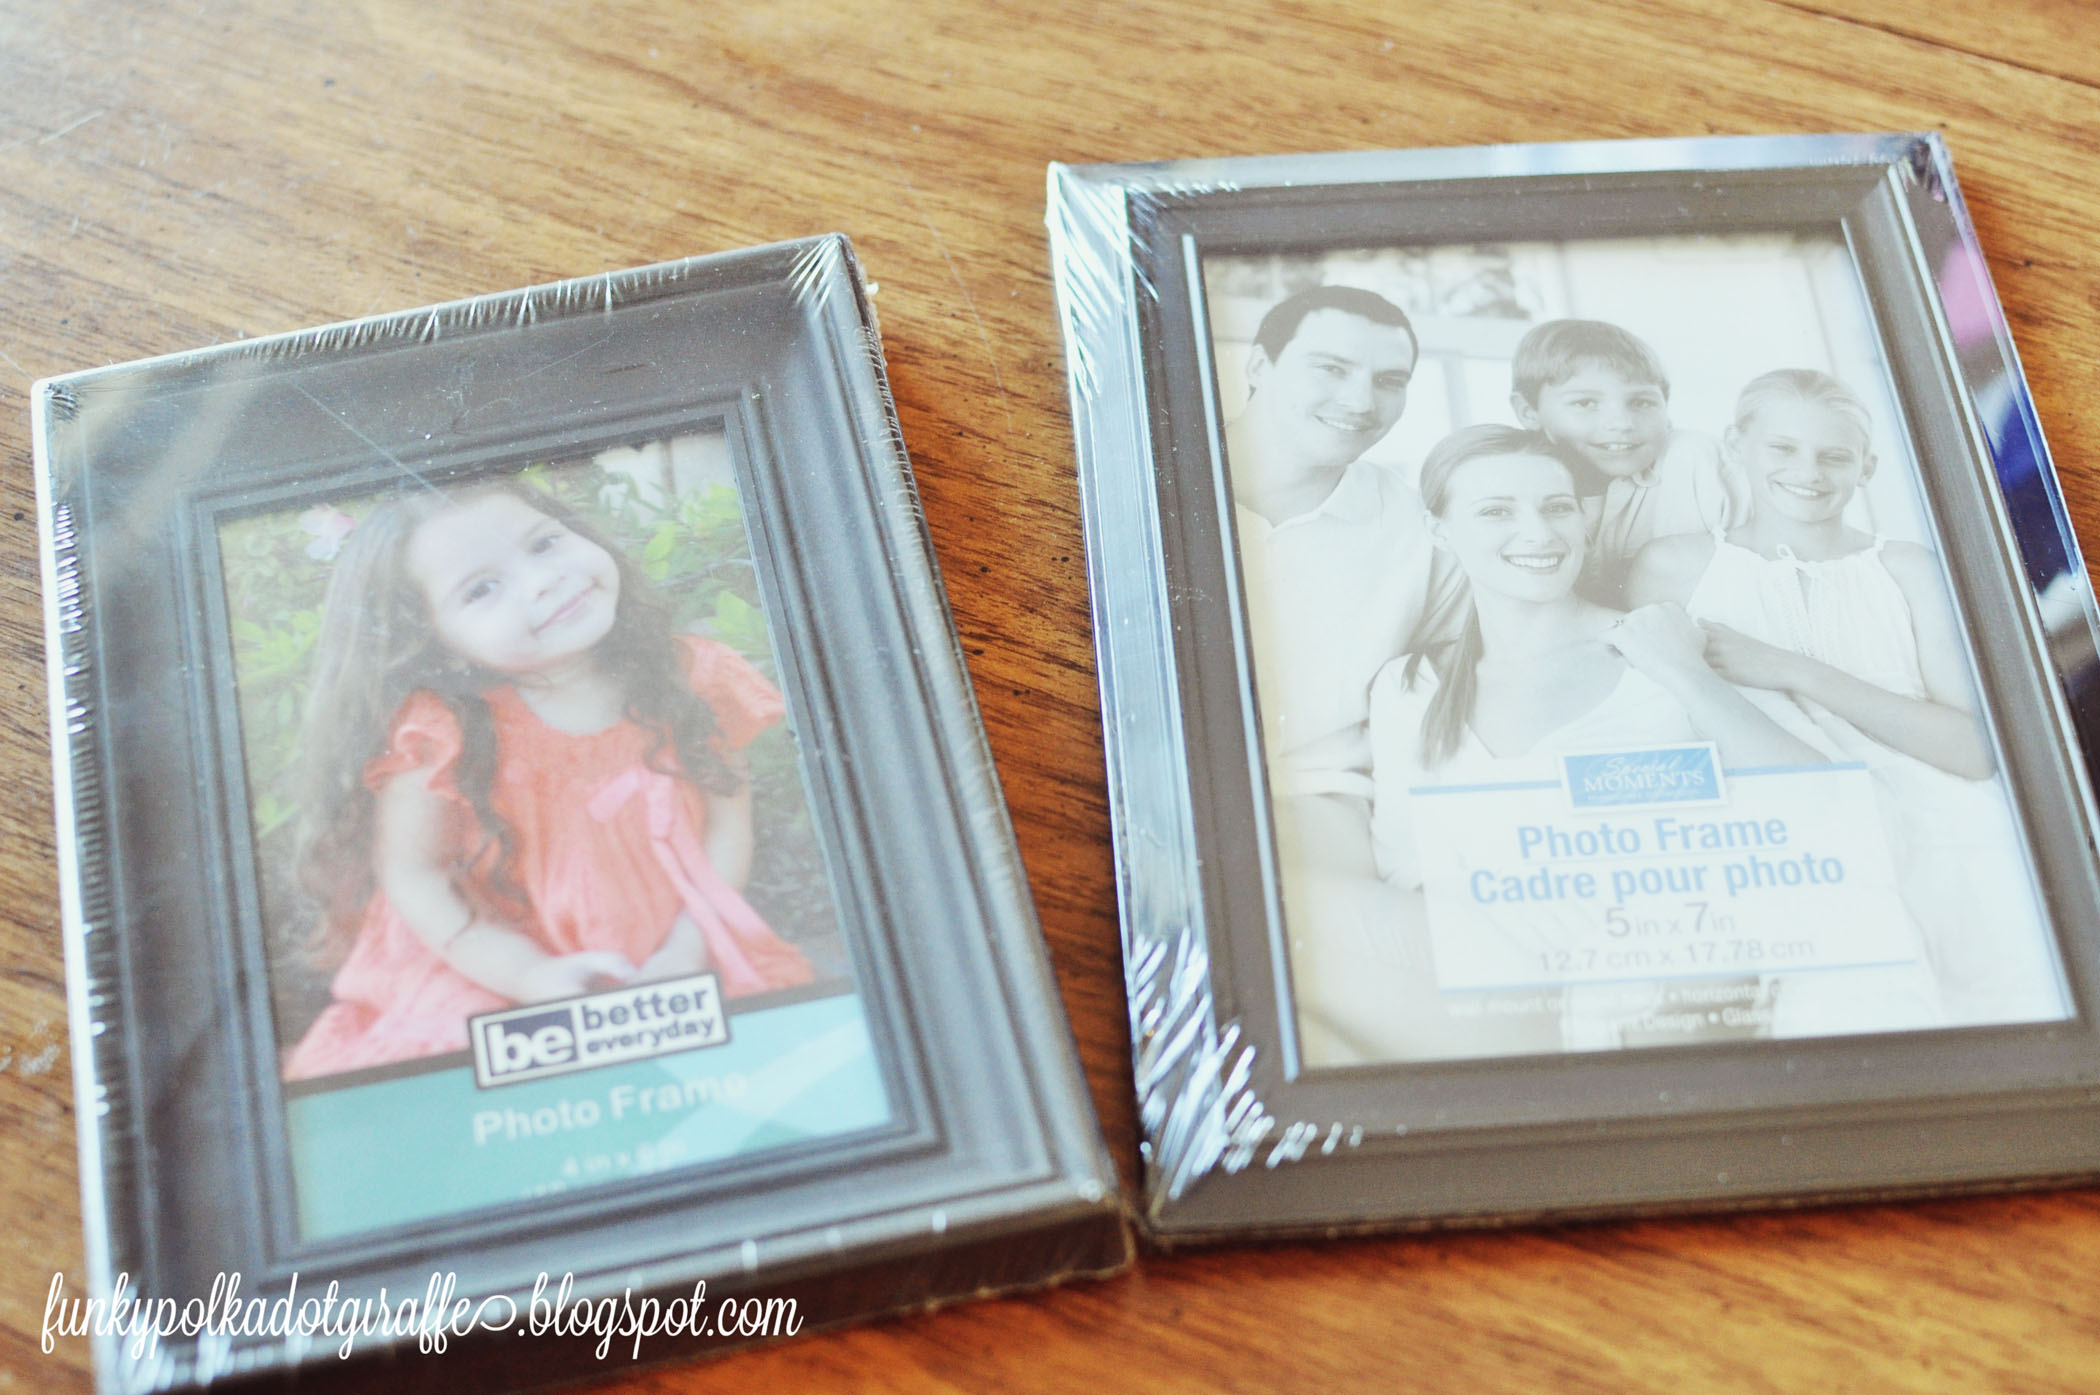
I grabbed some cheap frames from the local dollar store.
Then grabbed some Krylon paint and spray painted the heck out of them - Kara Noel and Julie would be so proud!

I made a 4x6 and 5x7 and this time I cut the fabric piece 7x9 to make
sure I had a little bit more to work with when I was framing them.
I printed off some cute words - love and be mine - and since I was working
with white fabric I ditched the tracing paper and slipped it behind the
fabric and traced the words onto the fabric with a pencil.
I used the back stitch again because it gives a great fine line for tracing the words.


I did two different words, because I really like having a pair.
Boo. Eek.
Ho Ho Ho. Noel.
Love. Be Mine.
Perfect!


They turned out so cute and I think they would make great Valentines for friends!


I was thinking I should make a third.
What do you think?
What Valentine word comes to mind?


Let me know if you make some and please upload them to Flickr Group - I'd love to see them!!


Friday, December 21, 2012

Handmade Gift Idea: Framed Holiday Hand Embroidery

Today I've got a quick and easy handmade gift that is fun to make and receive. 
I made a Halloween version and loved it so much that I decided I needed to make a Christmas version when I found this fabulous Christmas fabric hiding in my hoard that I bought on clearance at Joann for $2 a yard a couple of years ago.

Supplies:
Frames
Spray Paint
Christmas Fabric
Transfer/Tracing Paper
White Embroidery Floss
Embroidery Hoop
Embroidery Needles
Fabric Marking Pencil
Glue Gun

I found these great frames at my local dollar store, but they were the wrong color, so I used a little white Krylon spray paint and they were ready to go!


Step One: Cut a piece of fabric that is about 1″ bigger on all four sides than photo glass. 
So for my 4×6 frame, I cut a piece of fabric that was 5×7 and for my 5×7 frame I cut a piece of fabric that was 6×8.

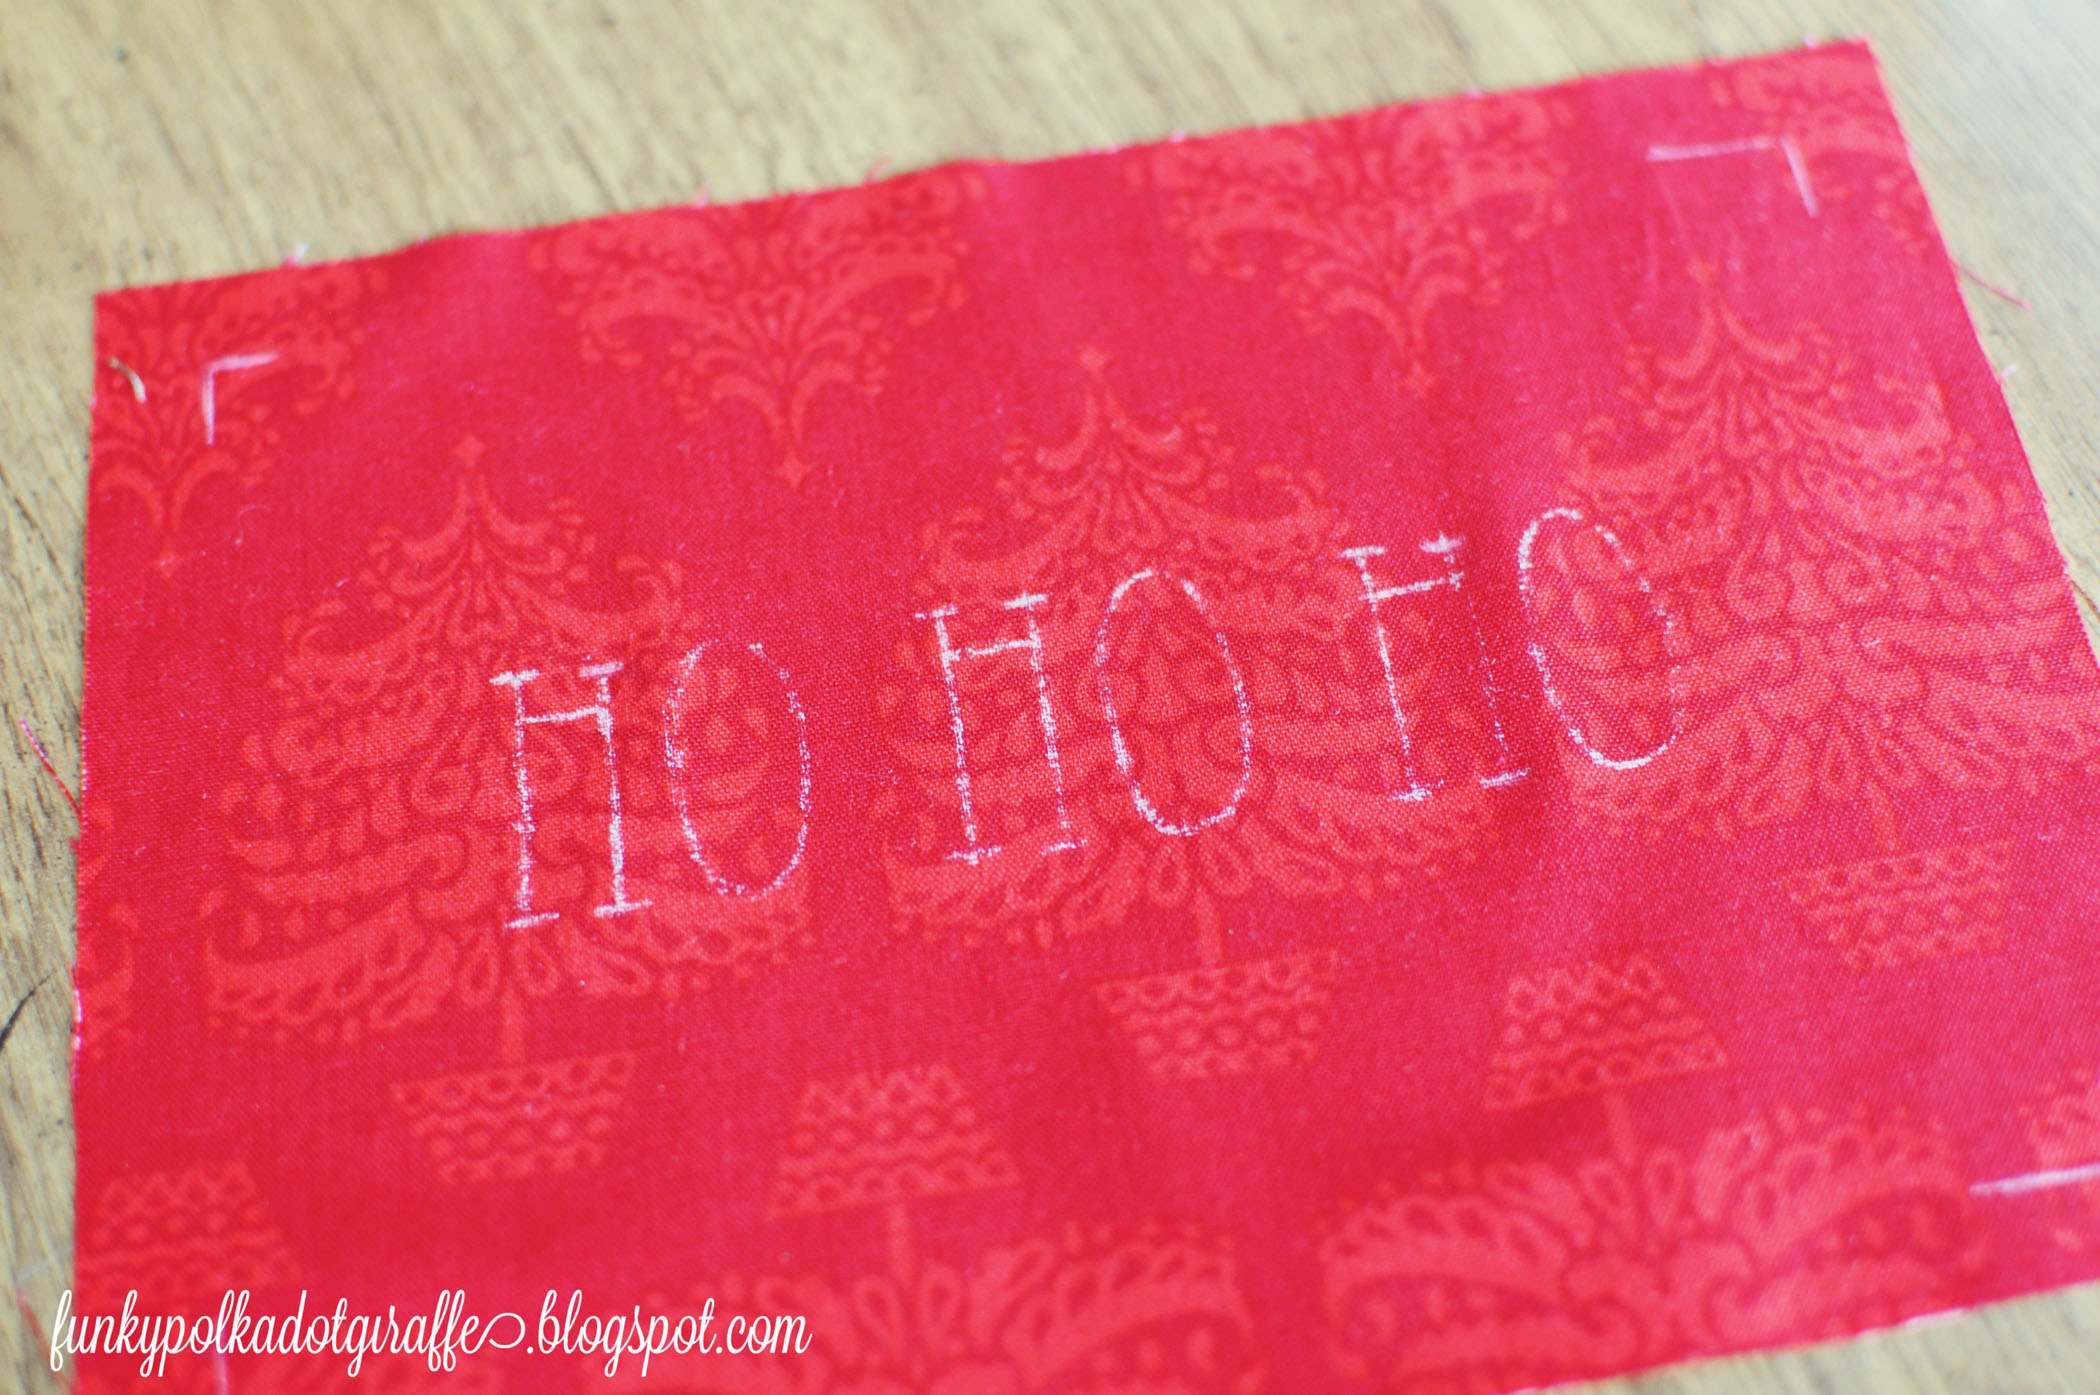
Step Two: Use a fabric marking pencil to mark the corners of your glass size so you know the size area that you’ll have to work with. I used a fabric pencil because I had one, but I’ve used a white crayon in a pinch.


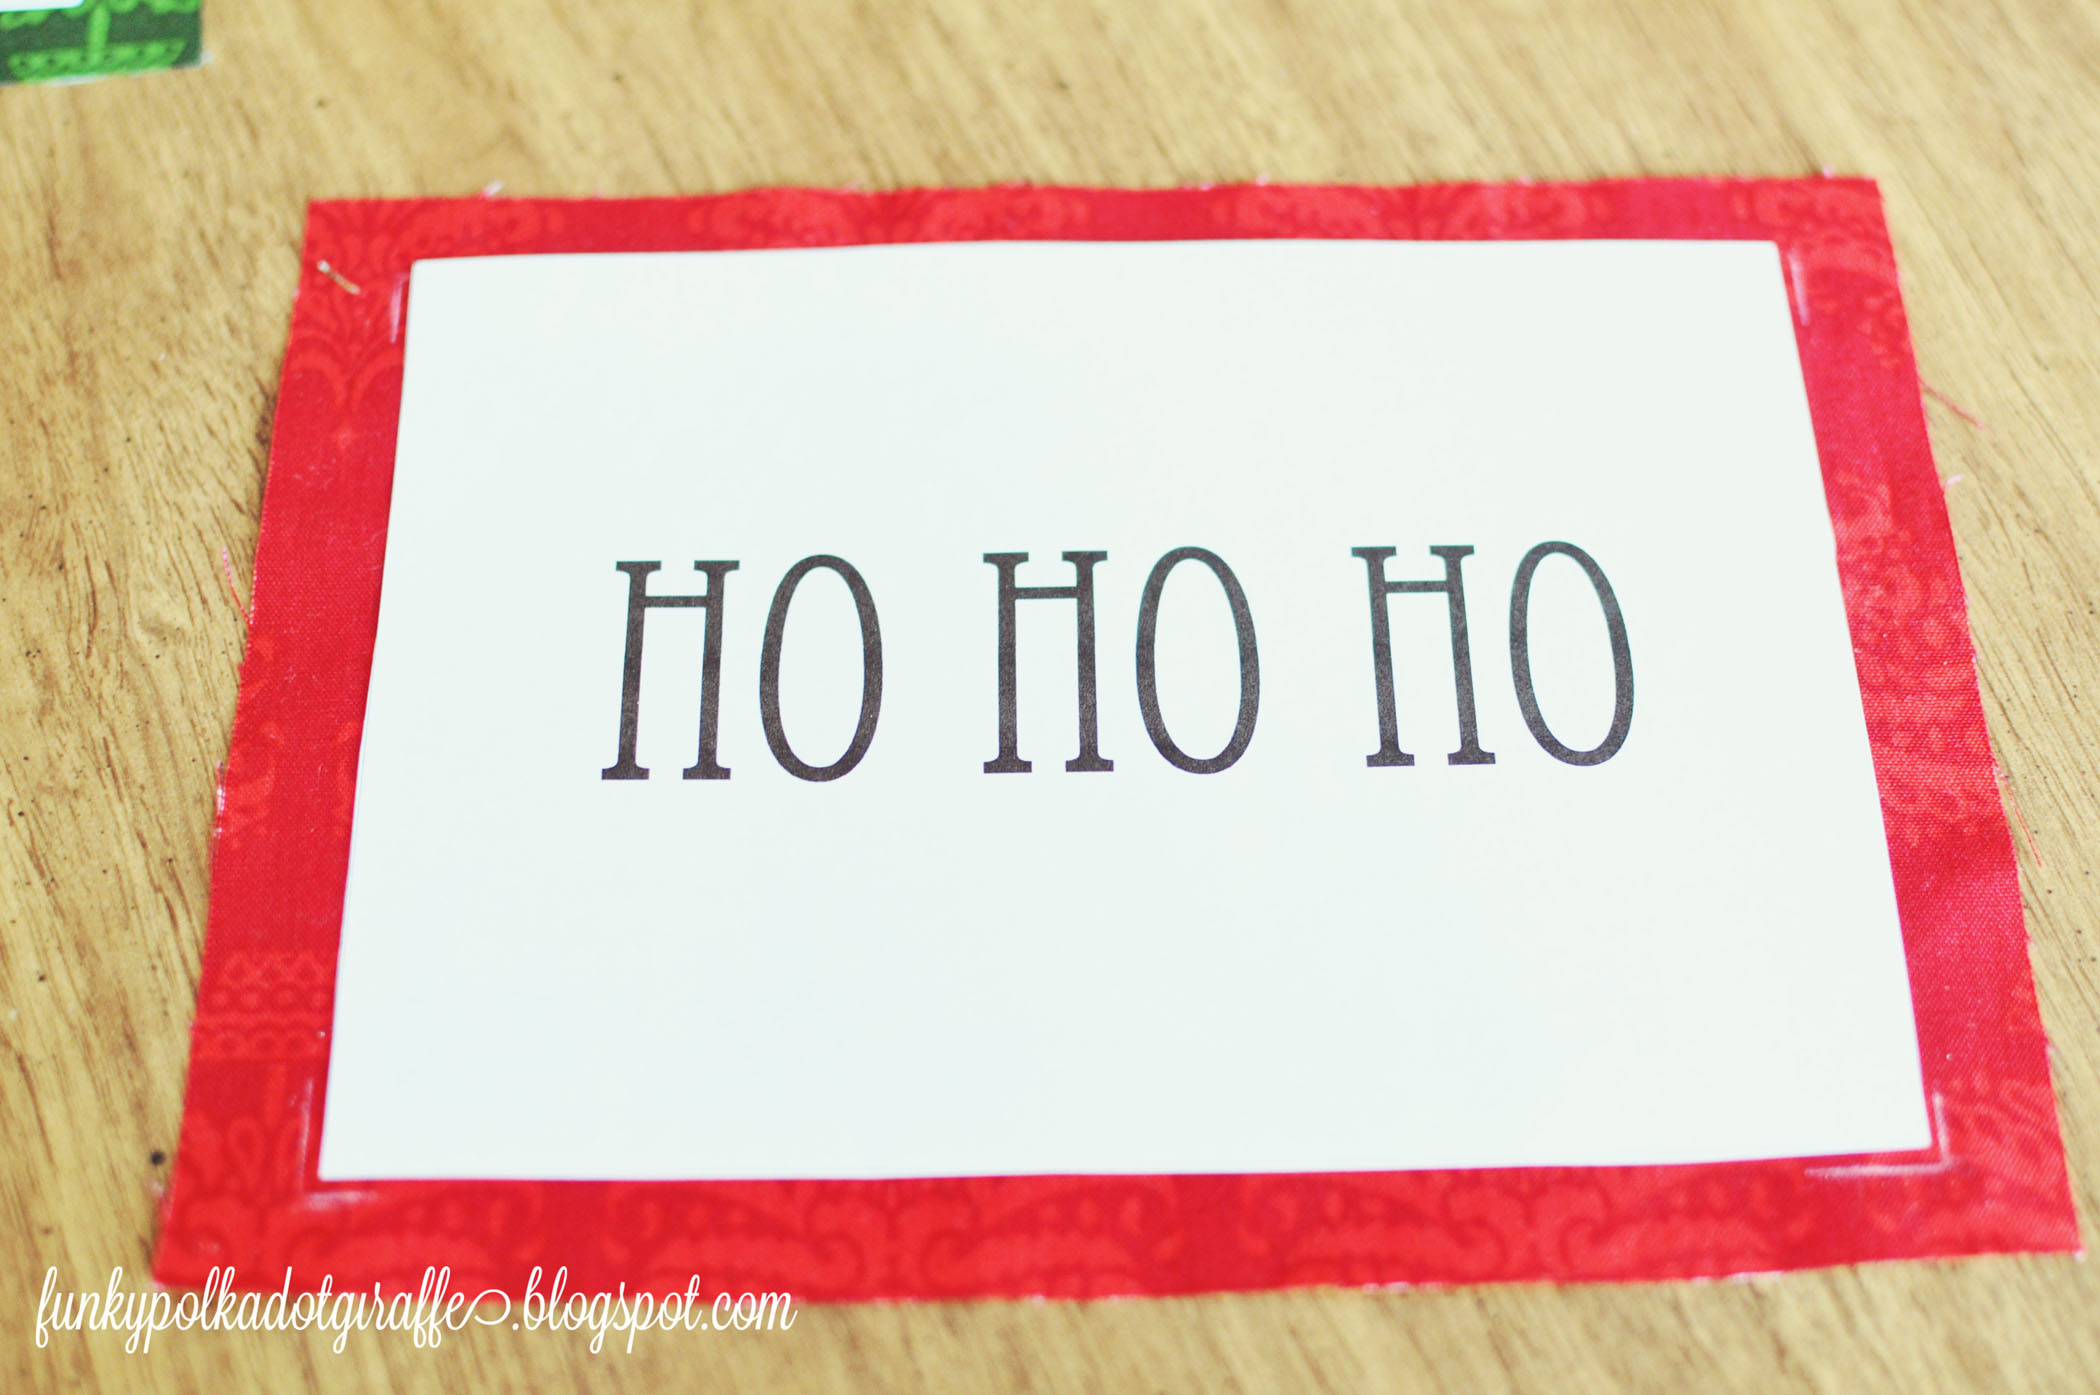
Step Three: Using your computer create text to be embroidered. I did this by making a 5×7 box in Photoshop and then centering the text within that box. Place the design over tracing/transfer paper and draw over the design to transfer it to the fabric.
It will look like this when you’re done!

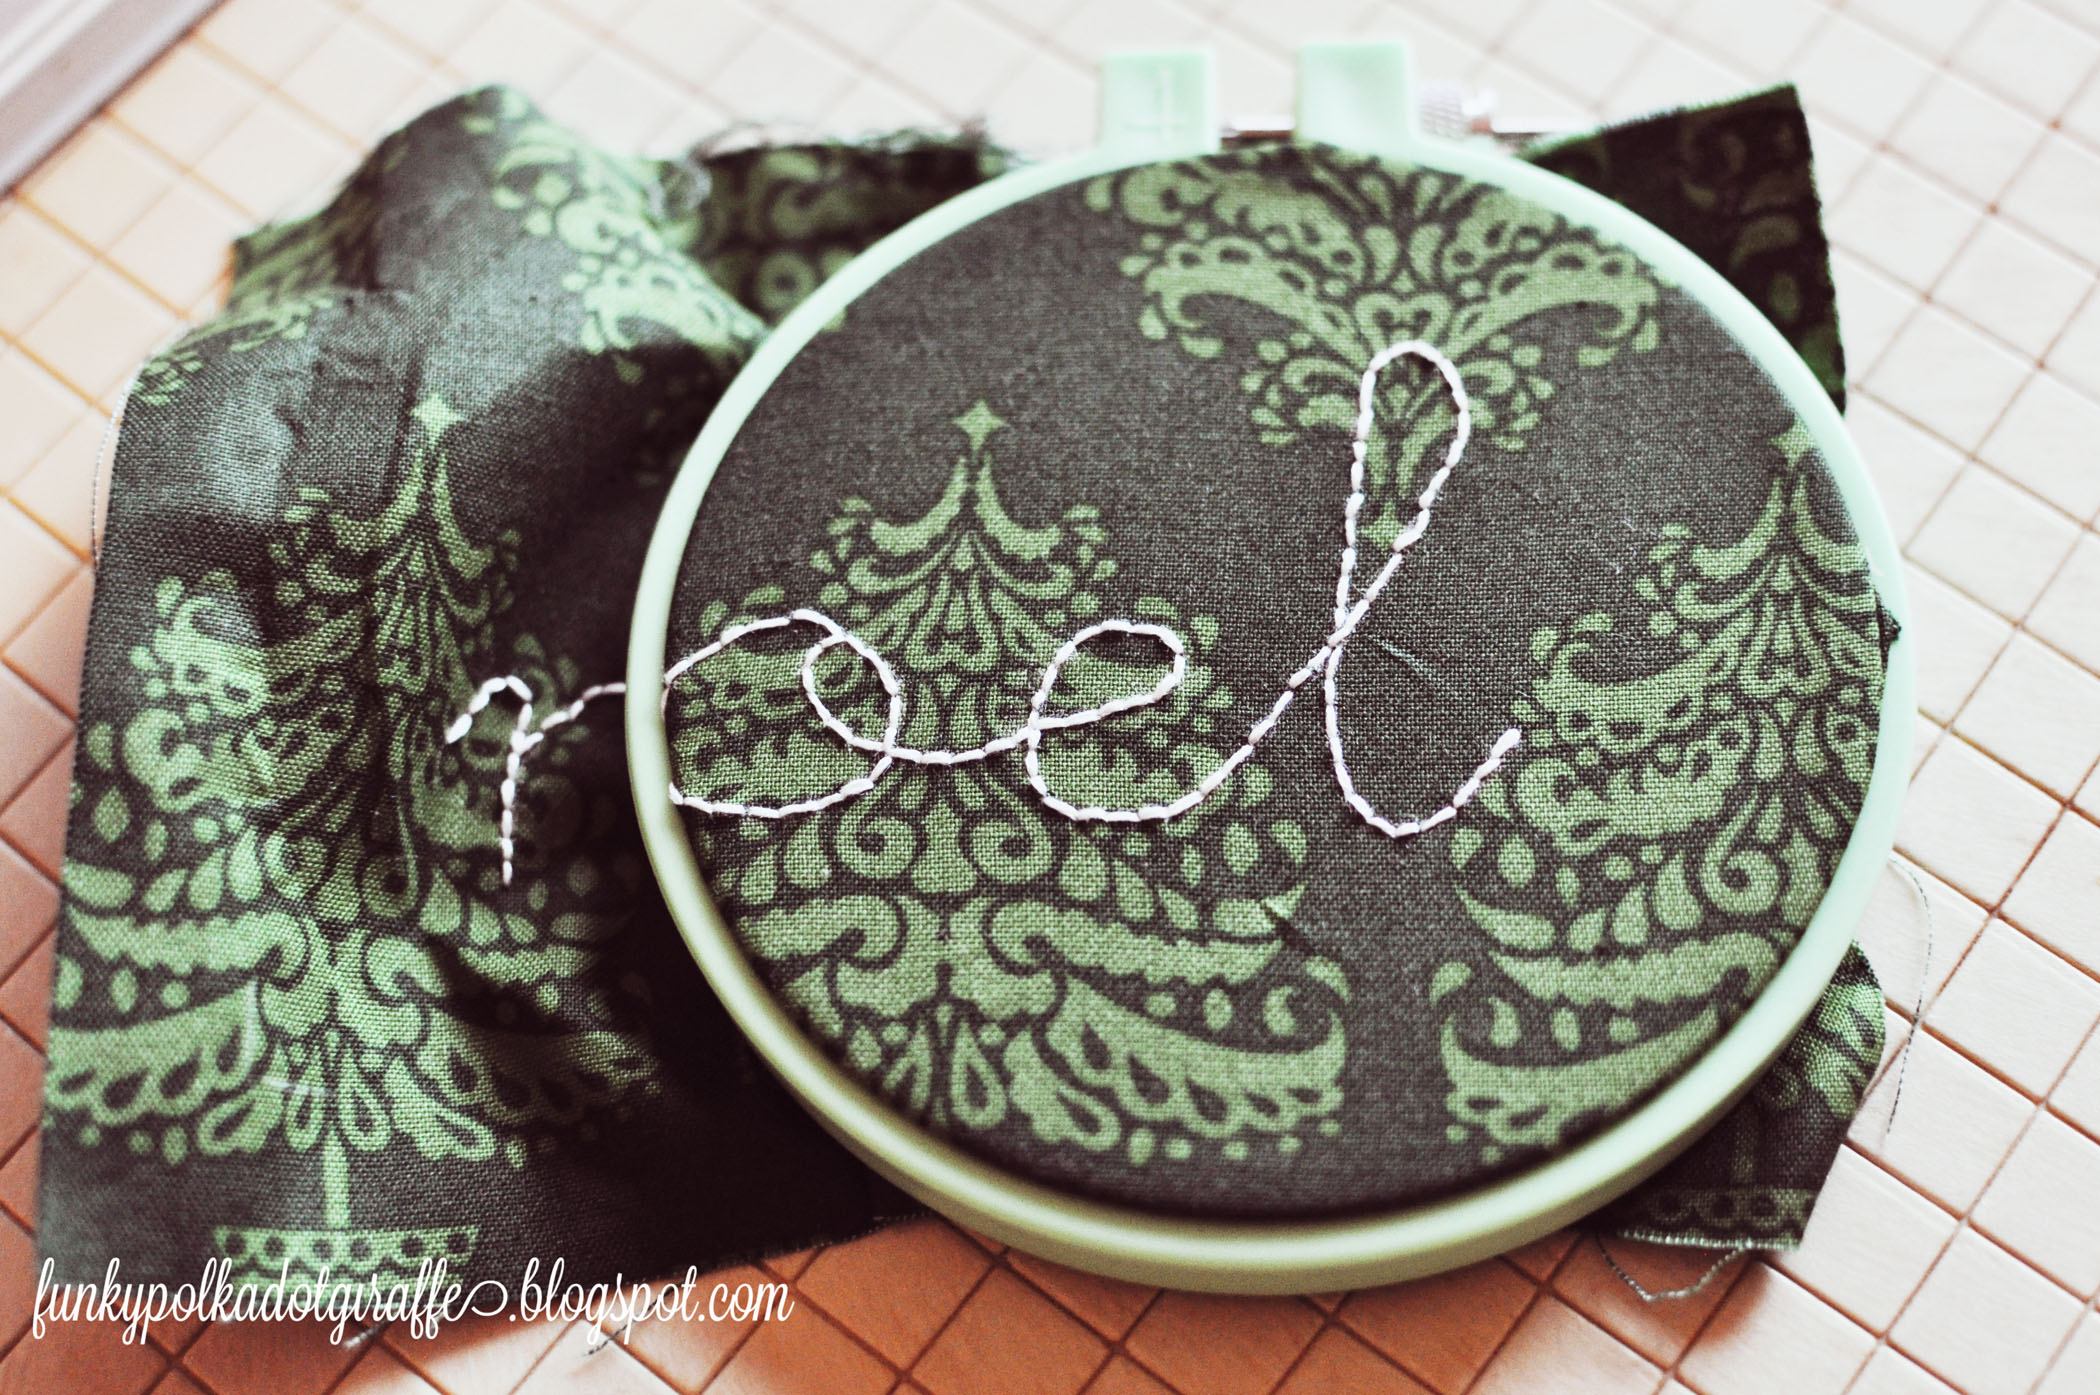
Step Four: Stretch the design onto your embroidery hoop and start stitching. 
I used a back stitch, but any of your favorite embroidery stitches will work great.

Step Five: Remove from the embroidery hoop and iron out the kinks and wrinkles.


Step Six: Cut a piece of cardstock the exact same size as the glass. 
Then place it on the back side of the embroidery and hot glue the edges to the cardstock – pulling slightly – to keep it taught.


You’re done! 
Flip it over and frame it up! 
I like to keep the glass behind it for sturdiness. 
You can put it in front too, but I don’t like the sheen it gives to the embroidery.


Now you’ve got a cute handmade gift to help share holiday cheer with friends!

This post originally appeared as a guest post on Skip to My Lou.

ShareThis

Related Posts with Thumbnails